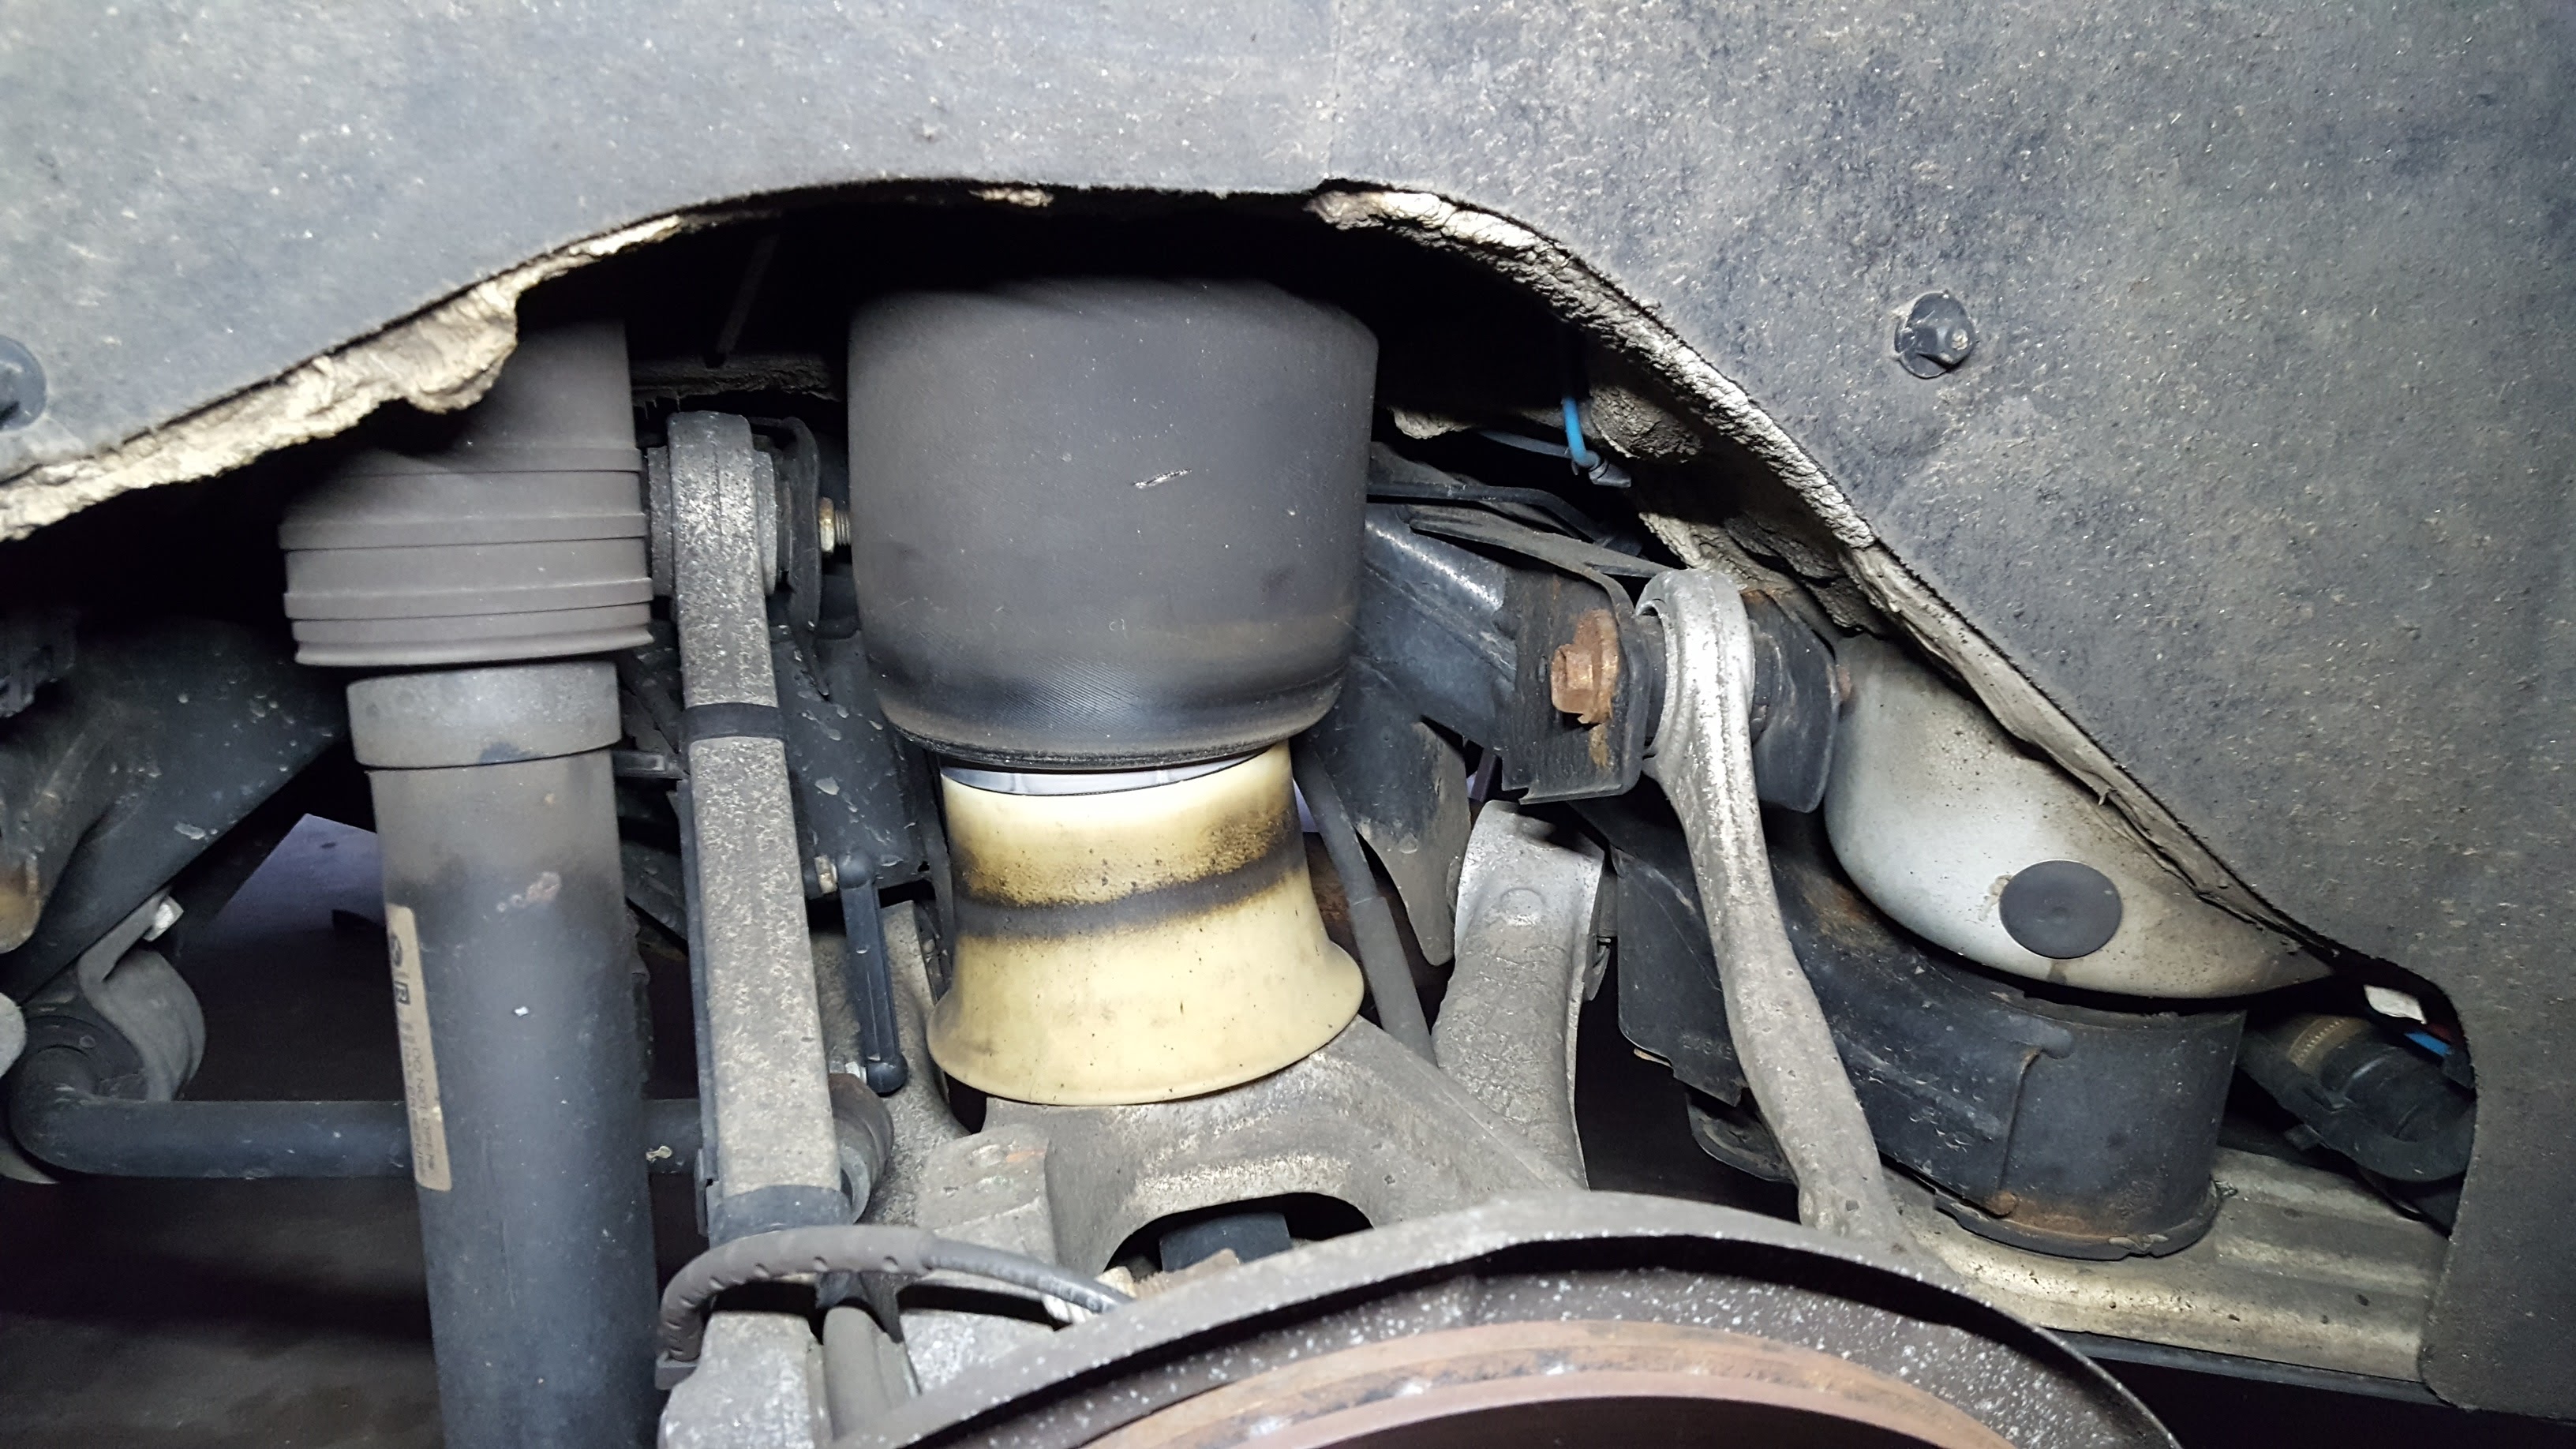
Air suspensions may seem like a major pain to deal with but I was recently given the opportunity to replace rear air springs on an E70 X5 xDrive3.0i and was surprised at how relatively simple the overall procedure was. The vehicle I was working on had a failed rear left air spring and a rear right air spring that was still working. I was asked to replace both air springs (since they should be replaced in pairs anyway). The failed air spring was pretty obvious as the bladder was deformed, and when squeezed by hand air would escape from the perforation in the bladder.
Tools needed:
- 10mm combination wrench or flare nut wrench
- 10mm socket with ratchet
- Long angled pick or long flat head screwdriver
- Good utility knife (optional)
Parts needed:
Step 1: Safely jack up the rear of the vehicle and support it with appropriate jack stands. Remove the wheels and place them under the vehicle for additional safety.
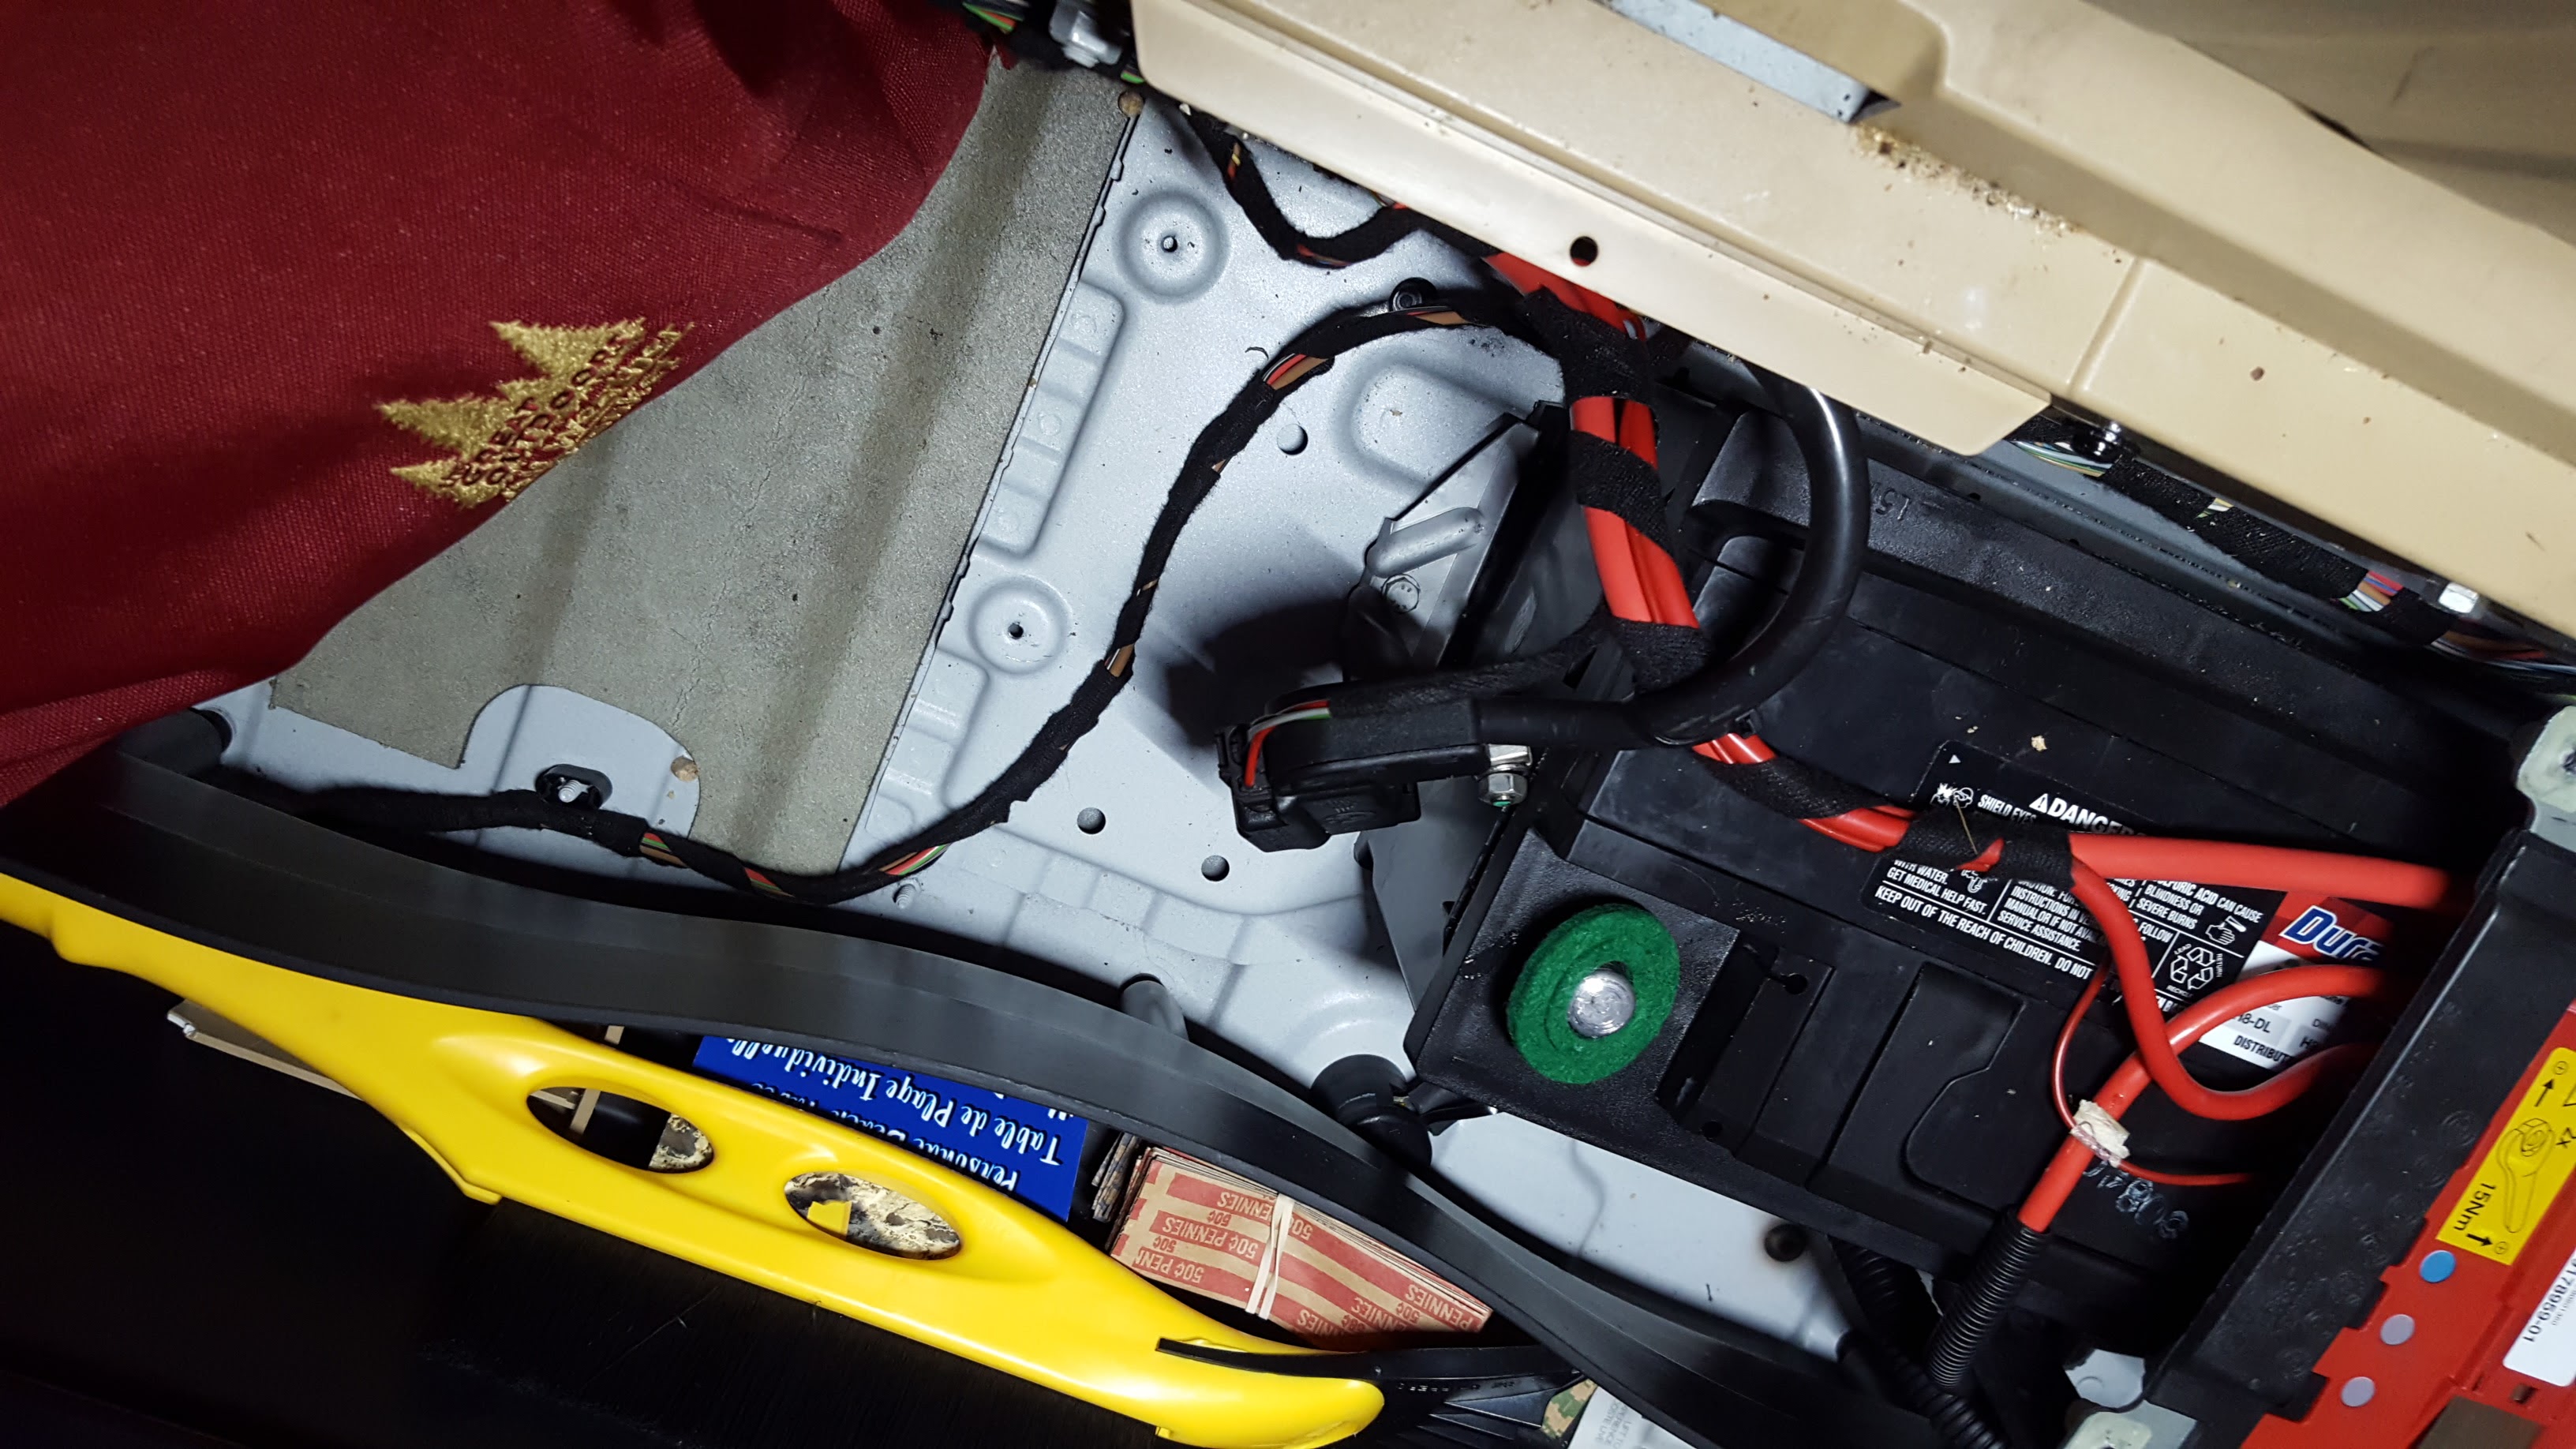
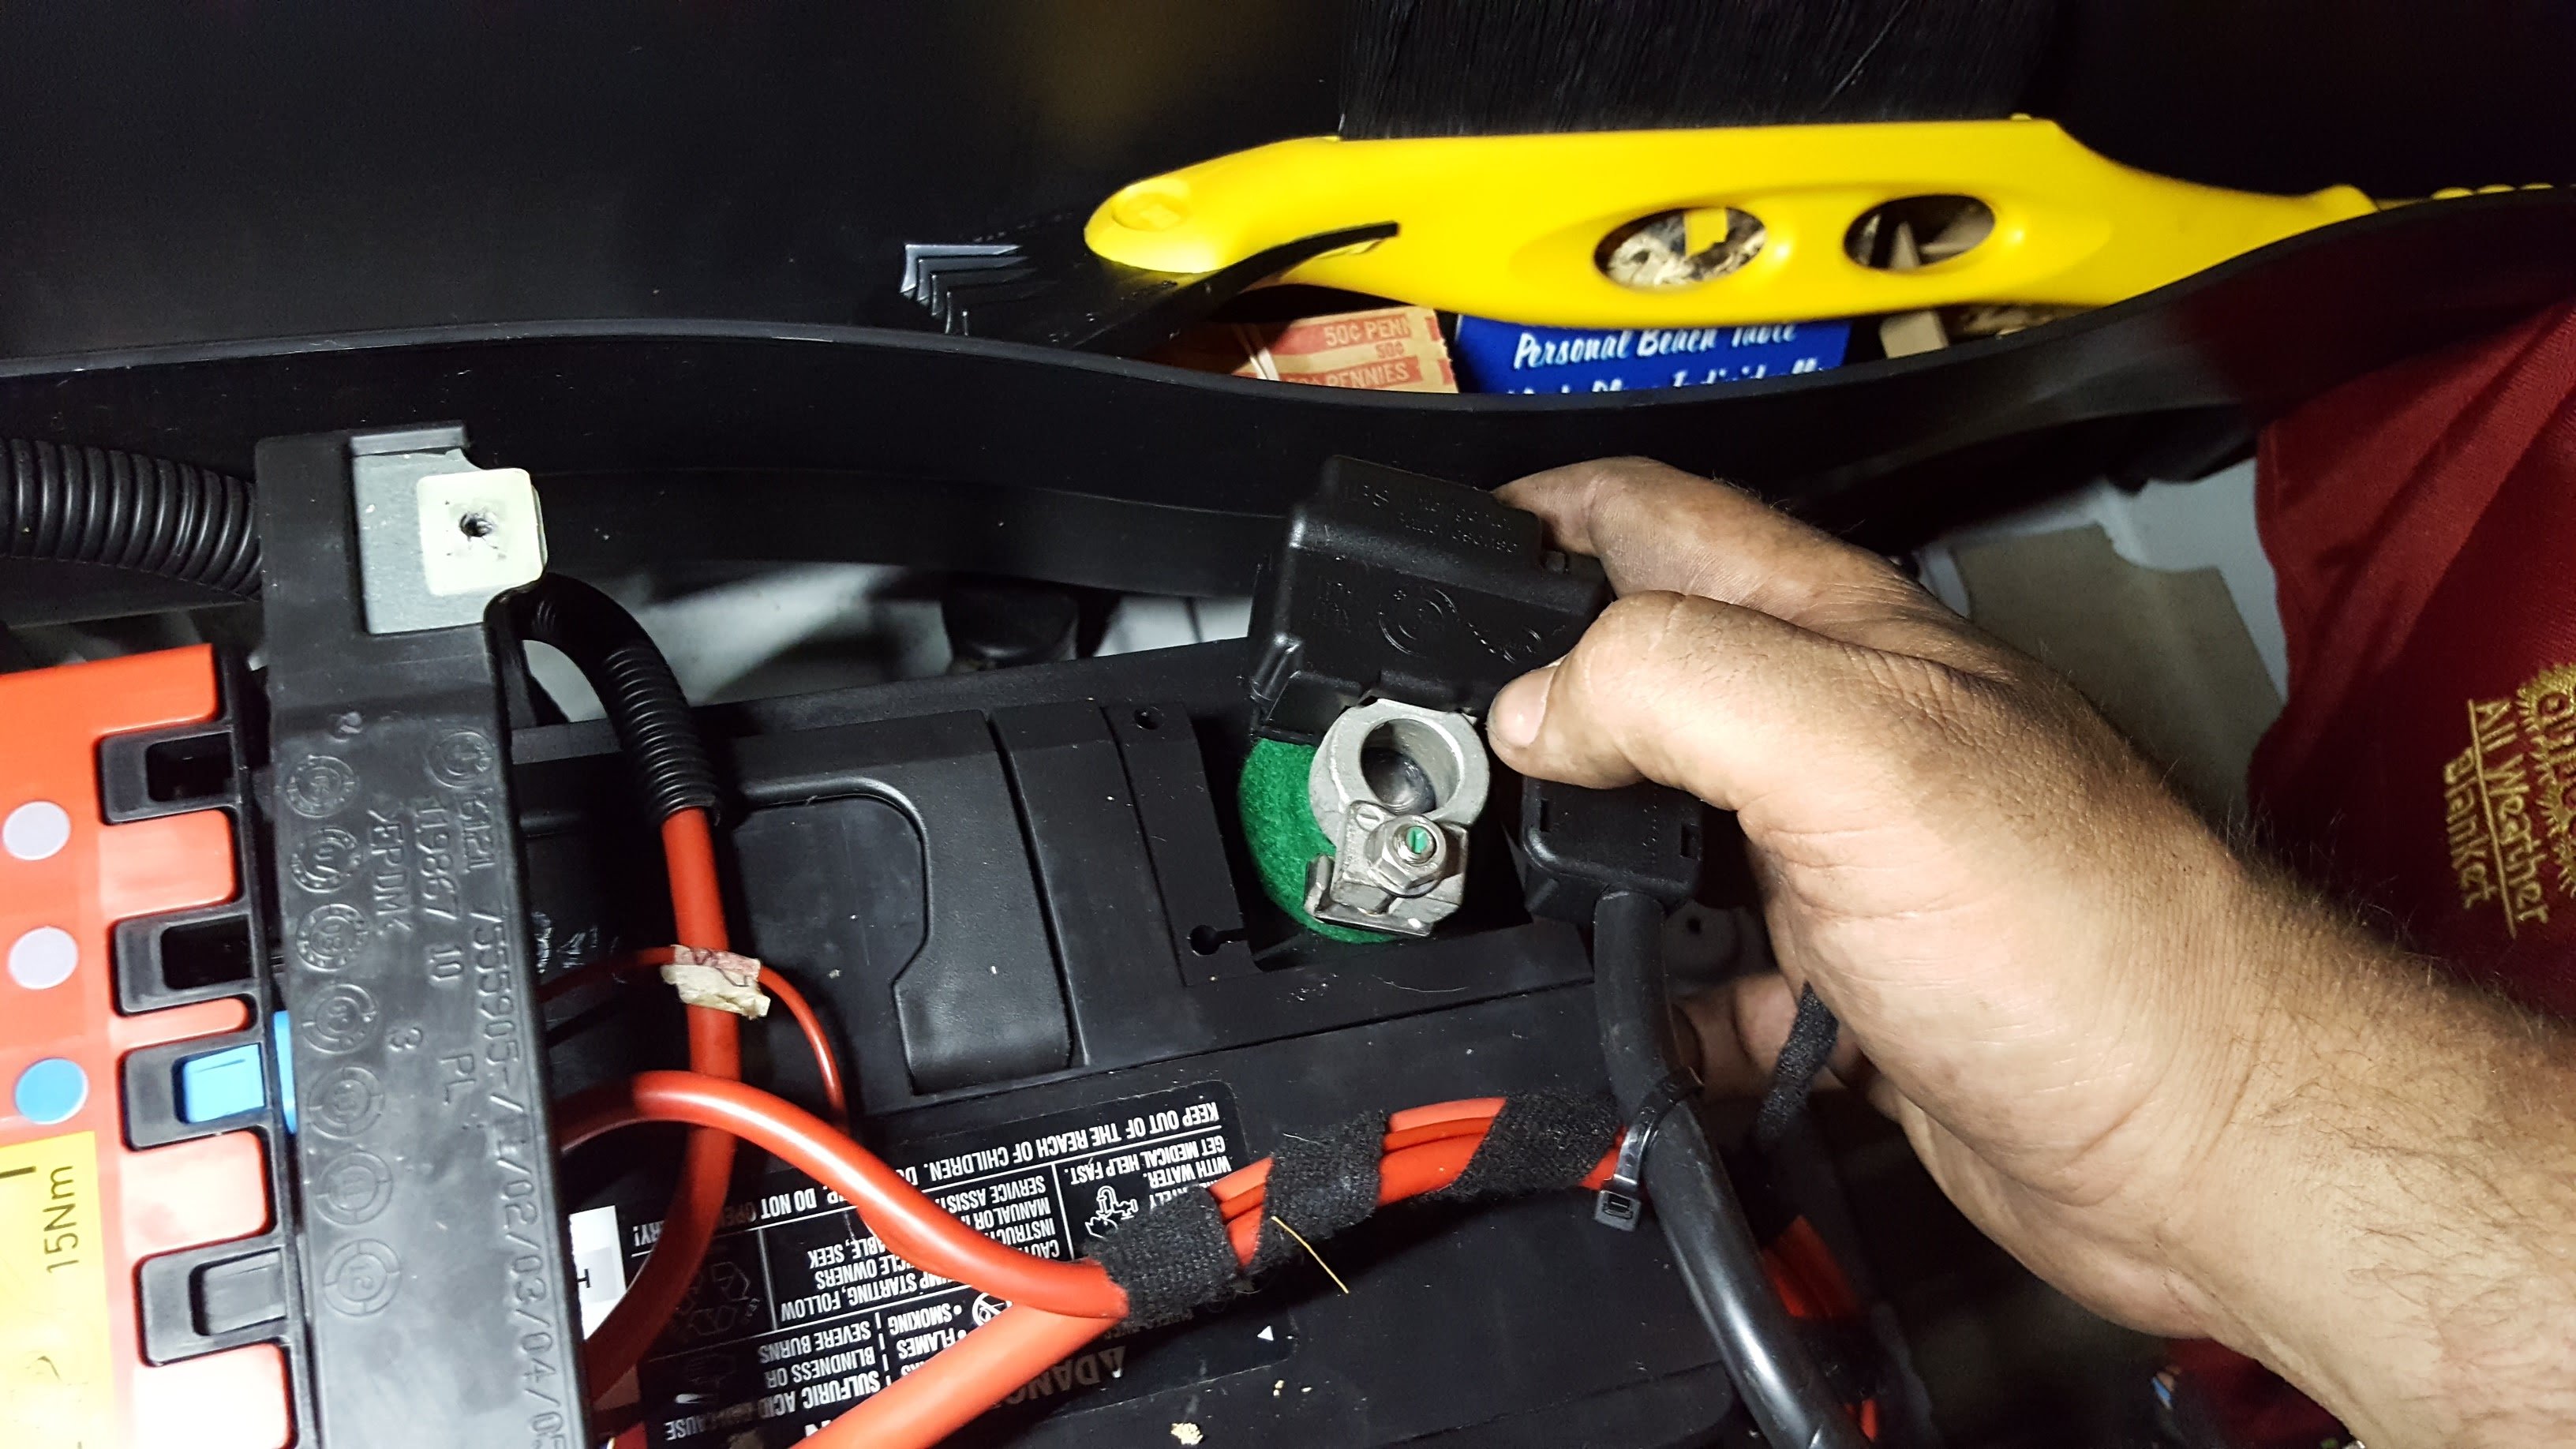
Step 2: Disconnect the negative battery terminal. This will prevent the vehicle from turning on the air compressor which you do not want to have happen which working on the air suspension.
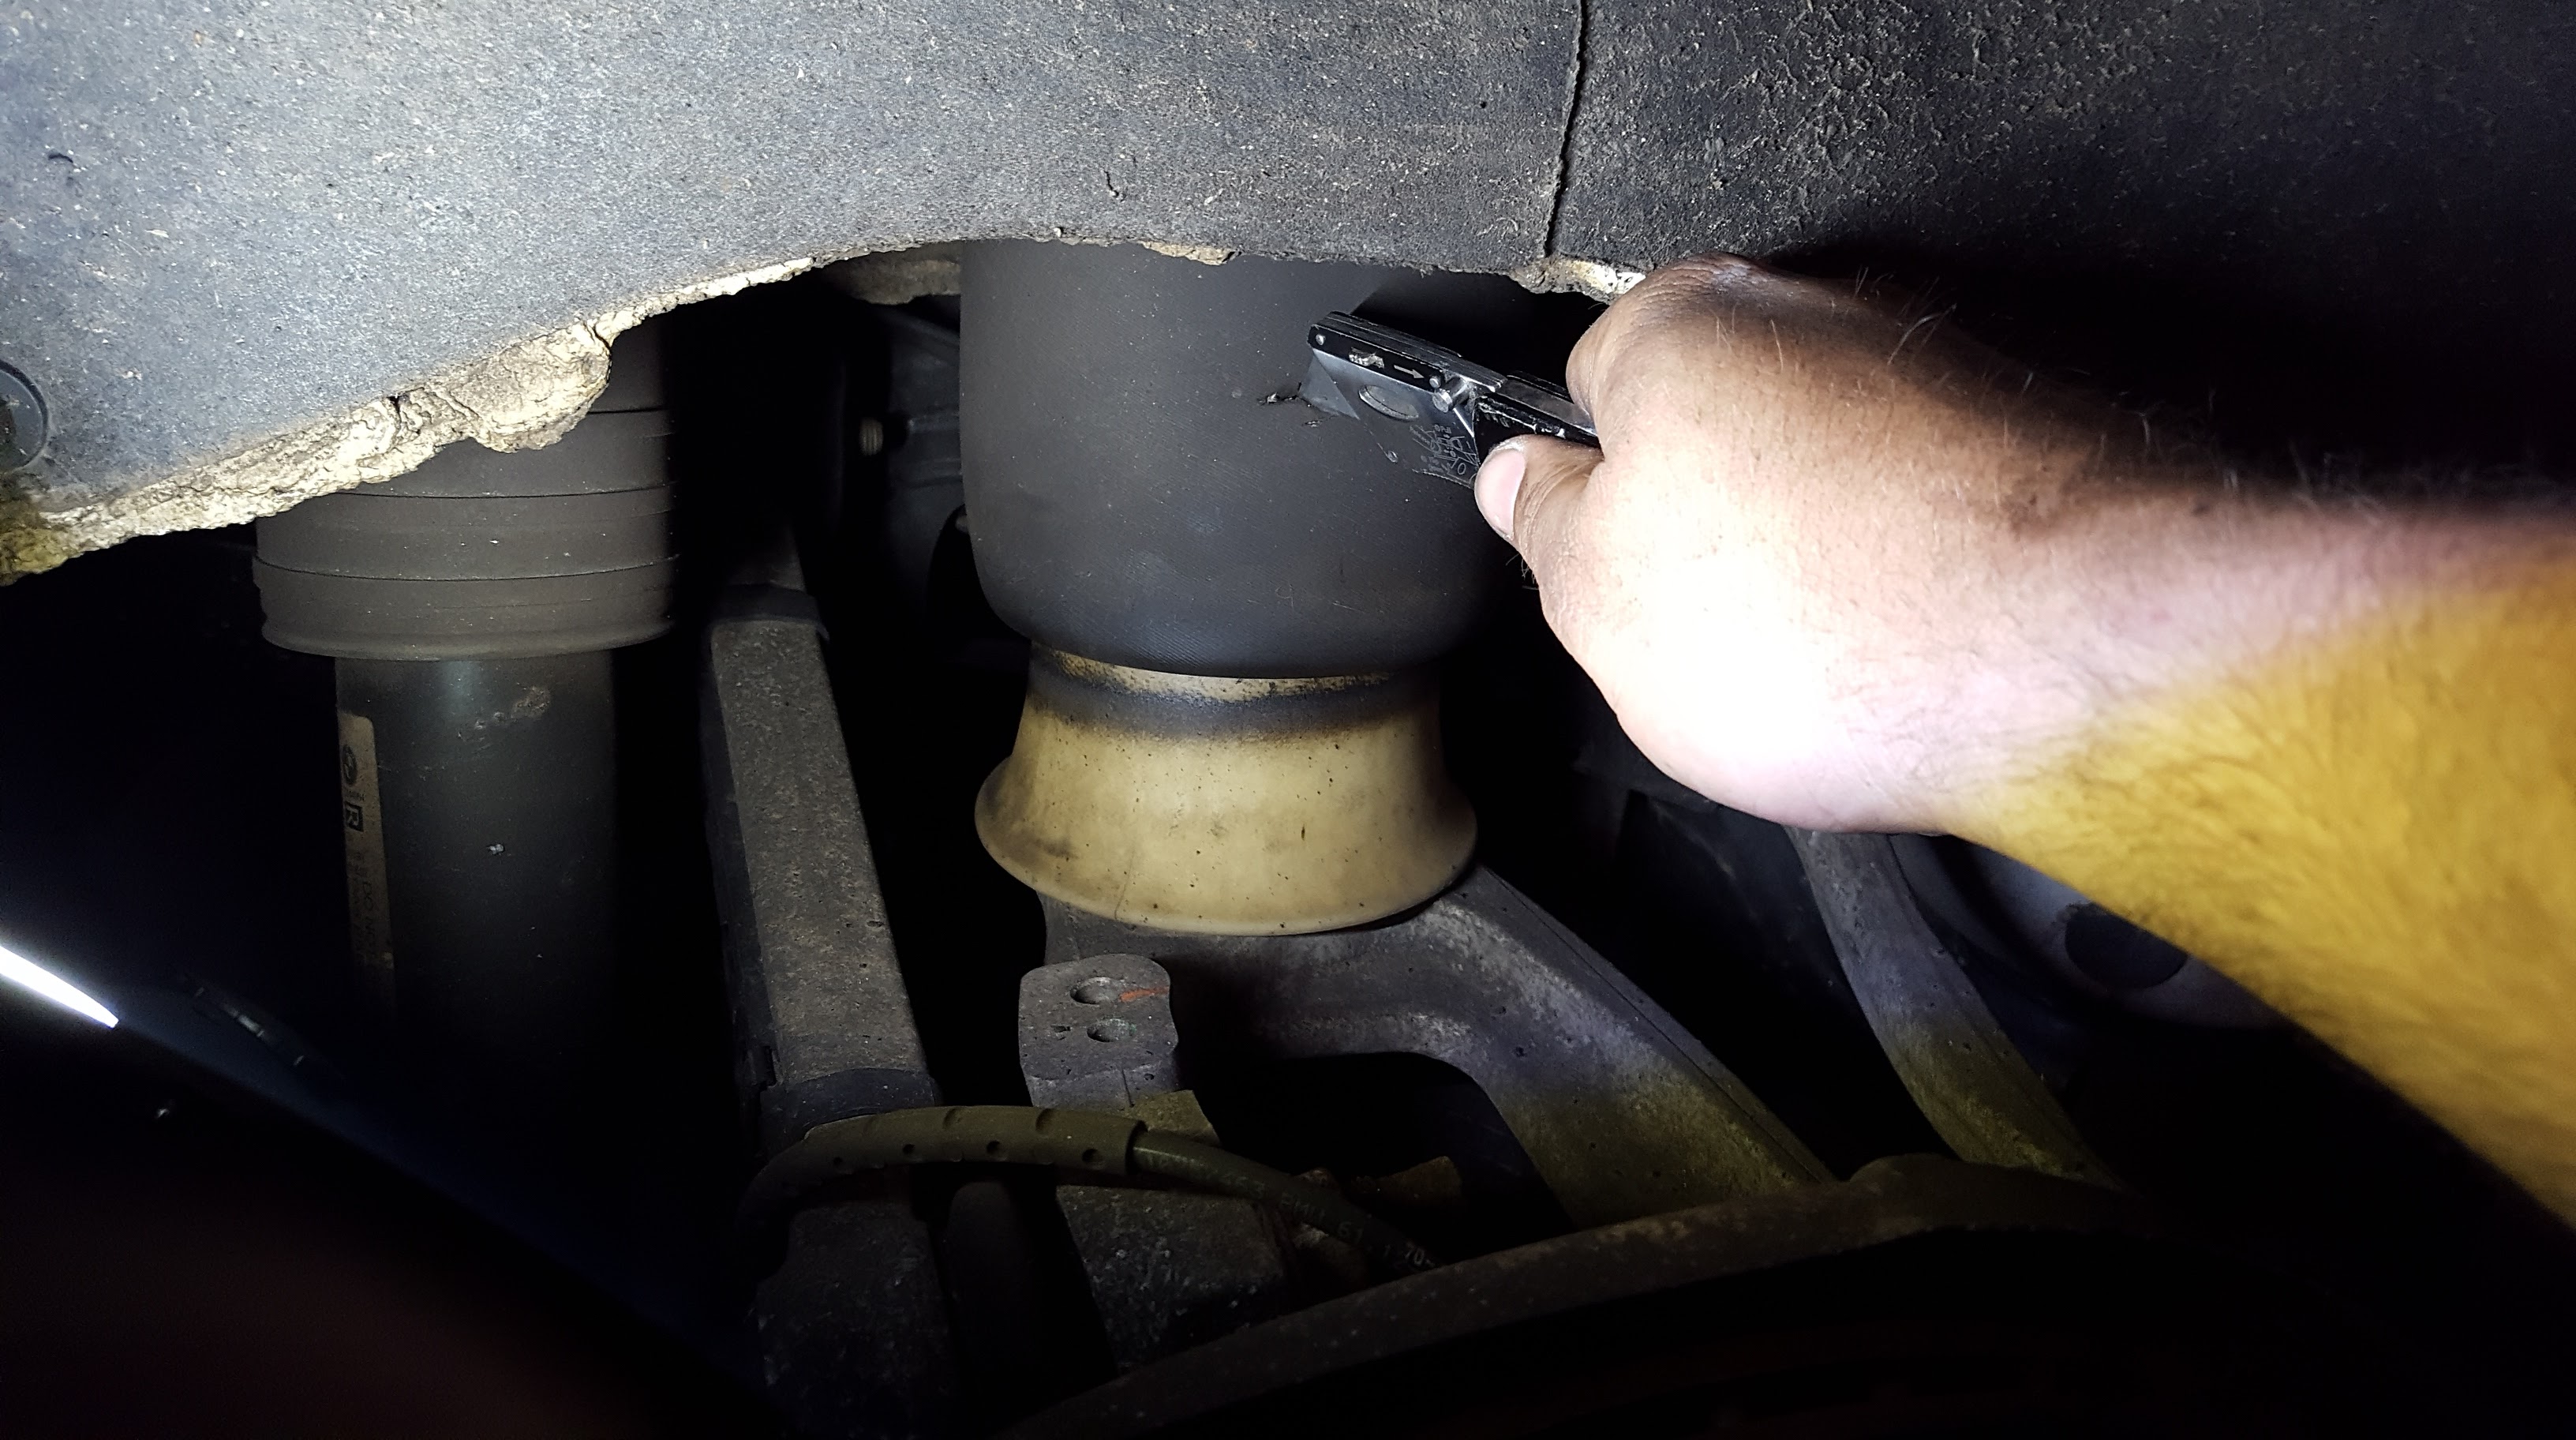
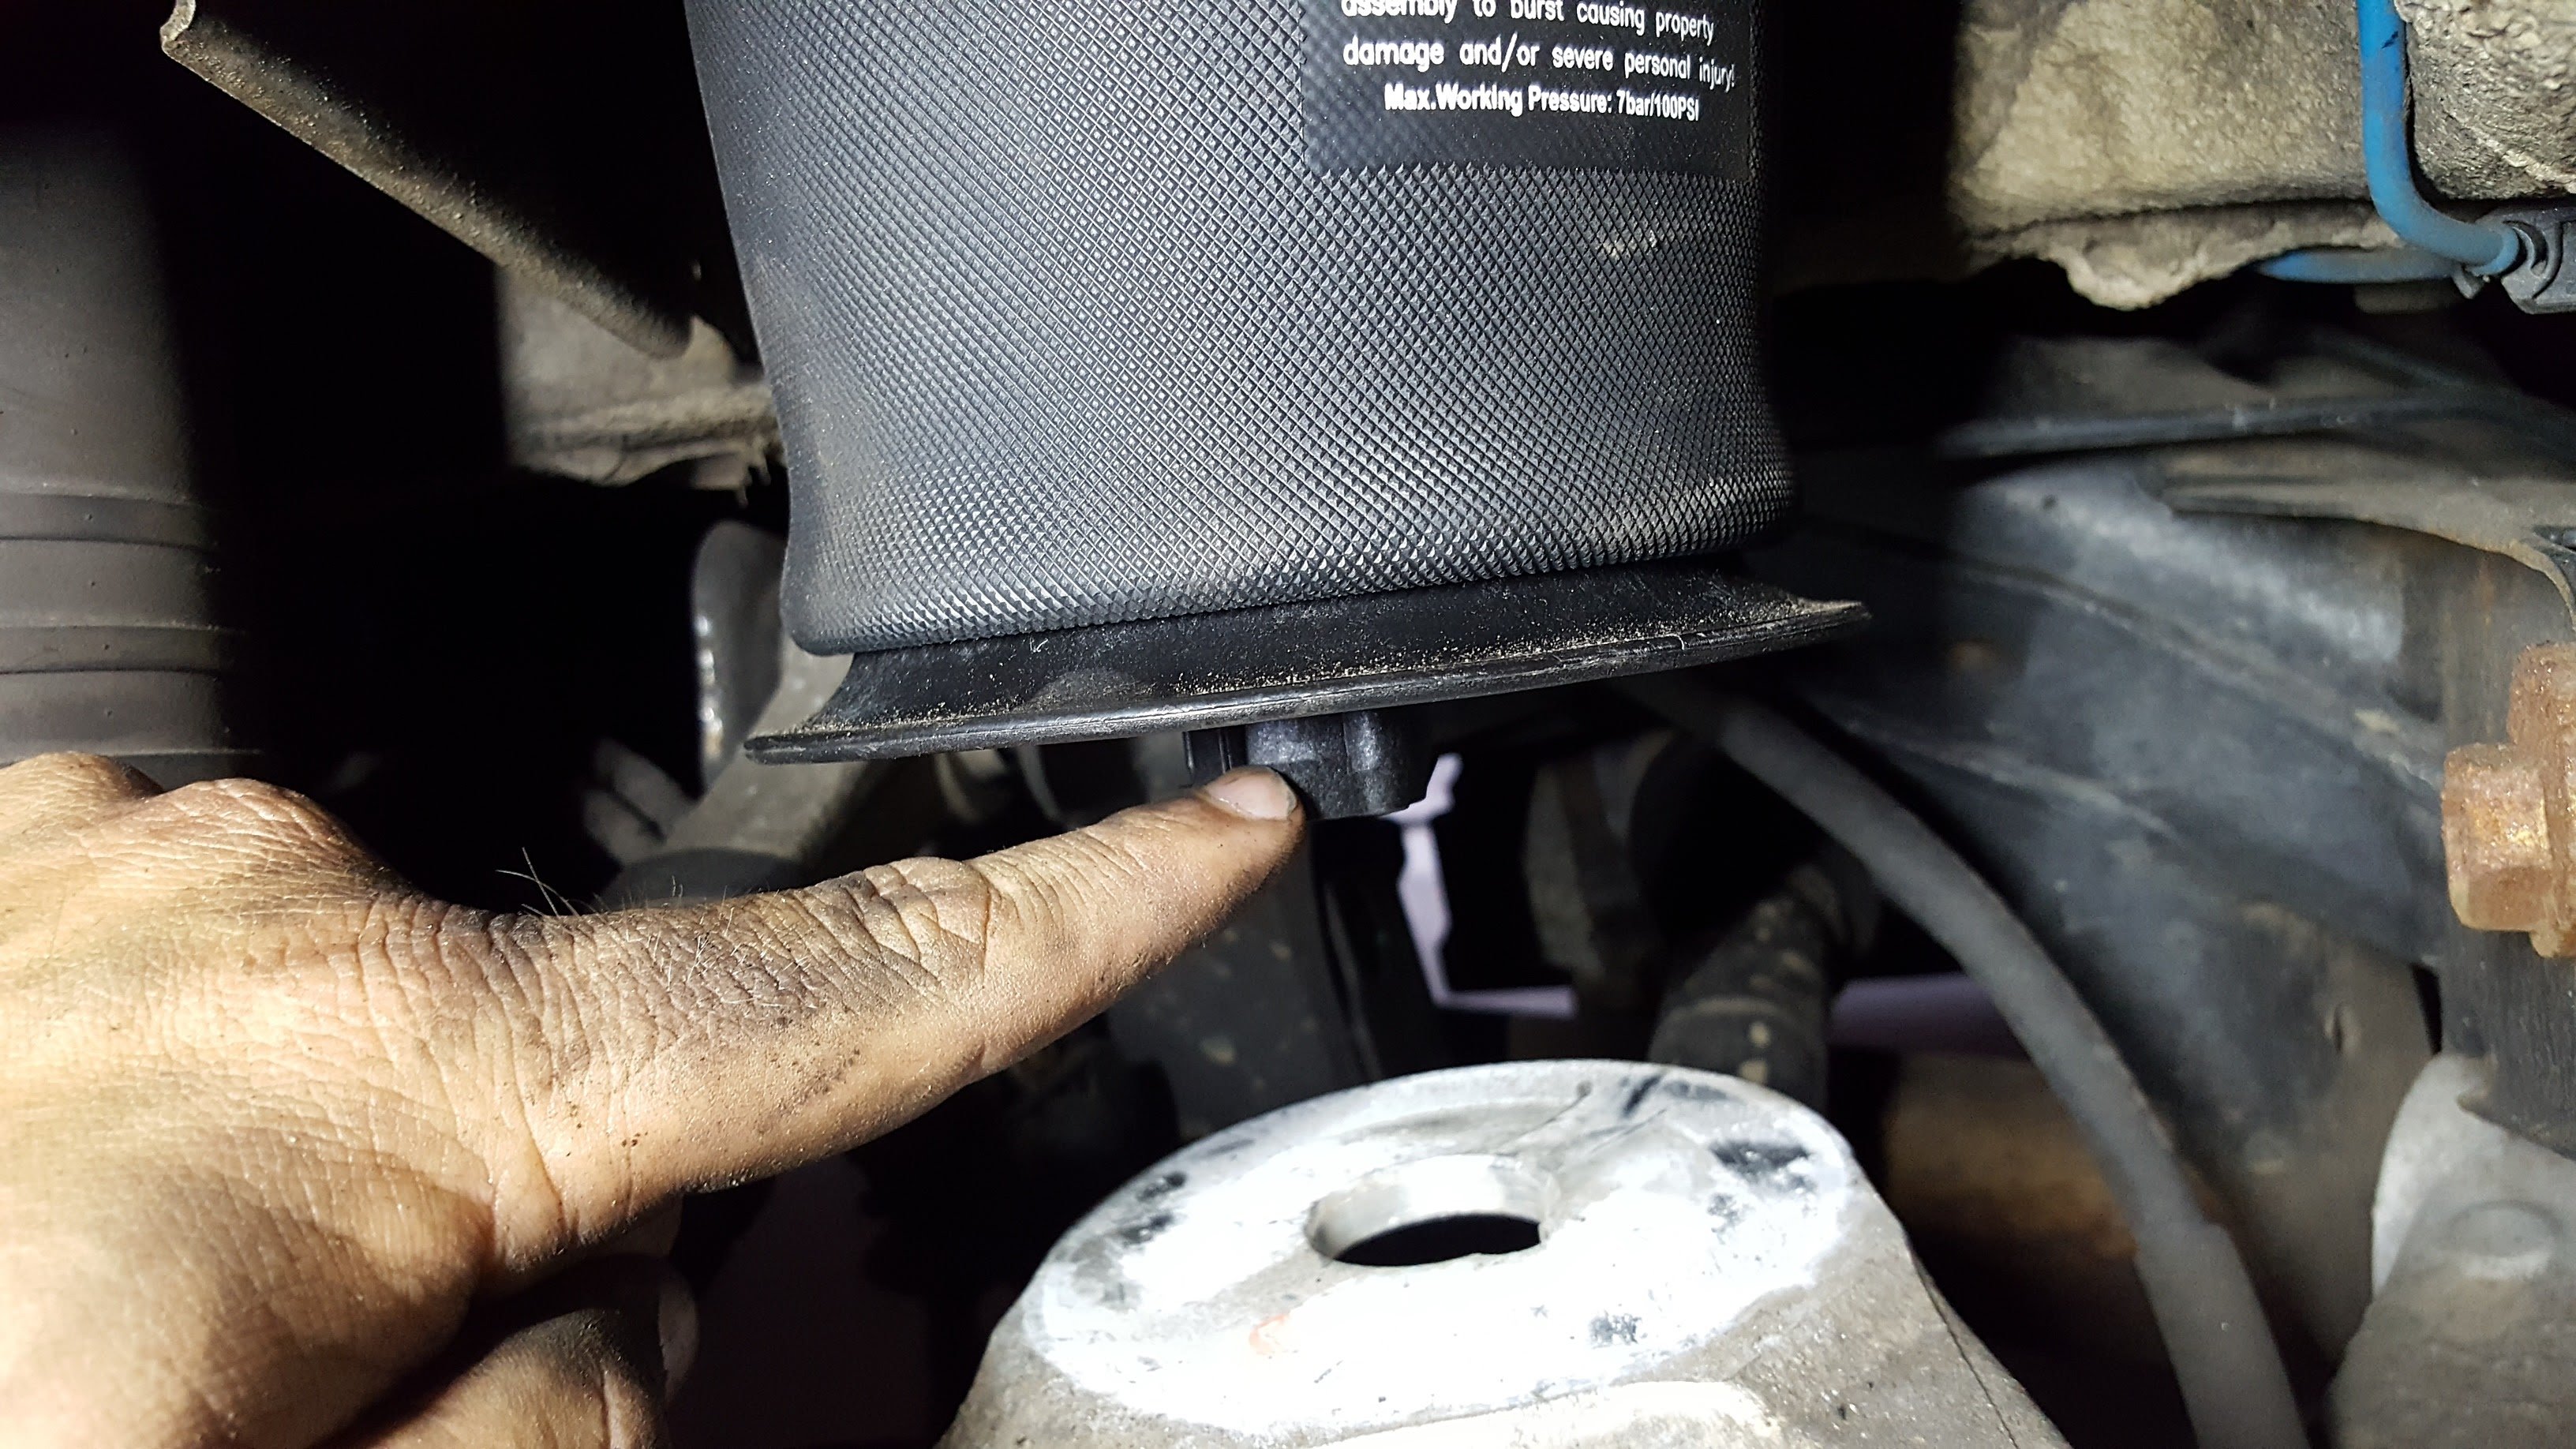
Step 3: Release pressure from the air spring by either disconnecting the air line at the air compressor control valve or if discarding the air spring entirely you can cut a hole into the air spring bladder. I cut a hole into the air spring bladder which was still functioning as they were not going to be reused and it was in rough shape. Doing this prevents you from having to disconnect the air spring lines at the air compressor as well as dropping the splash shield which protects the air suspension compressor. If you were going to reuse the air springs you will need to take the extra steps to disconnect the air lines at the compressor.
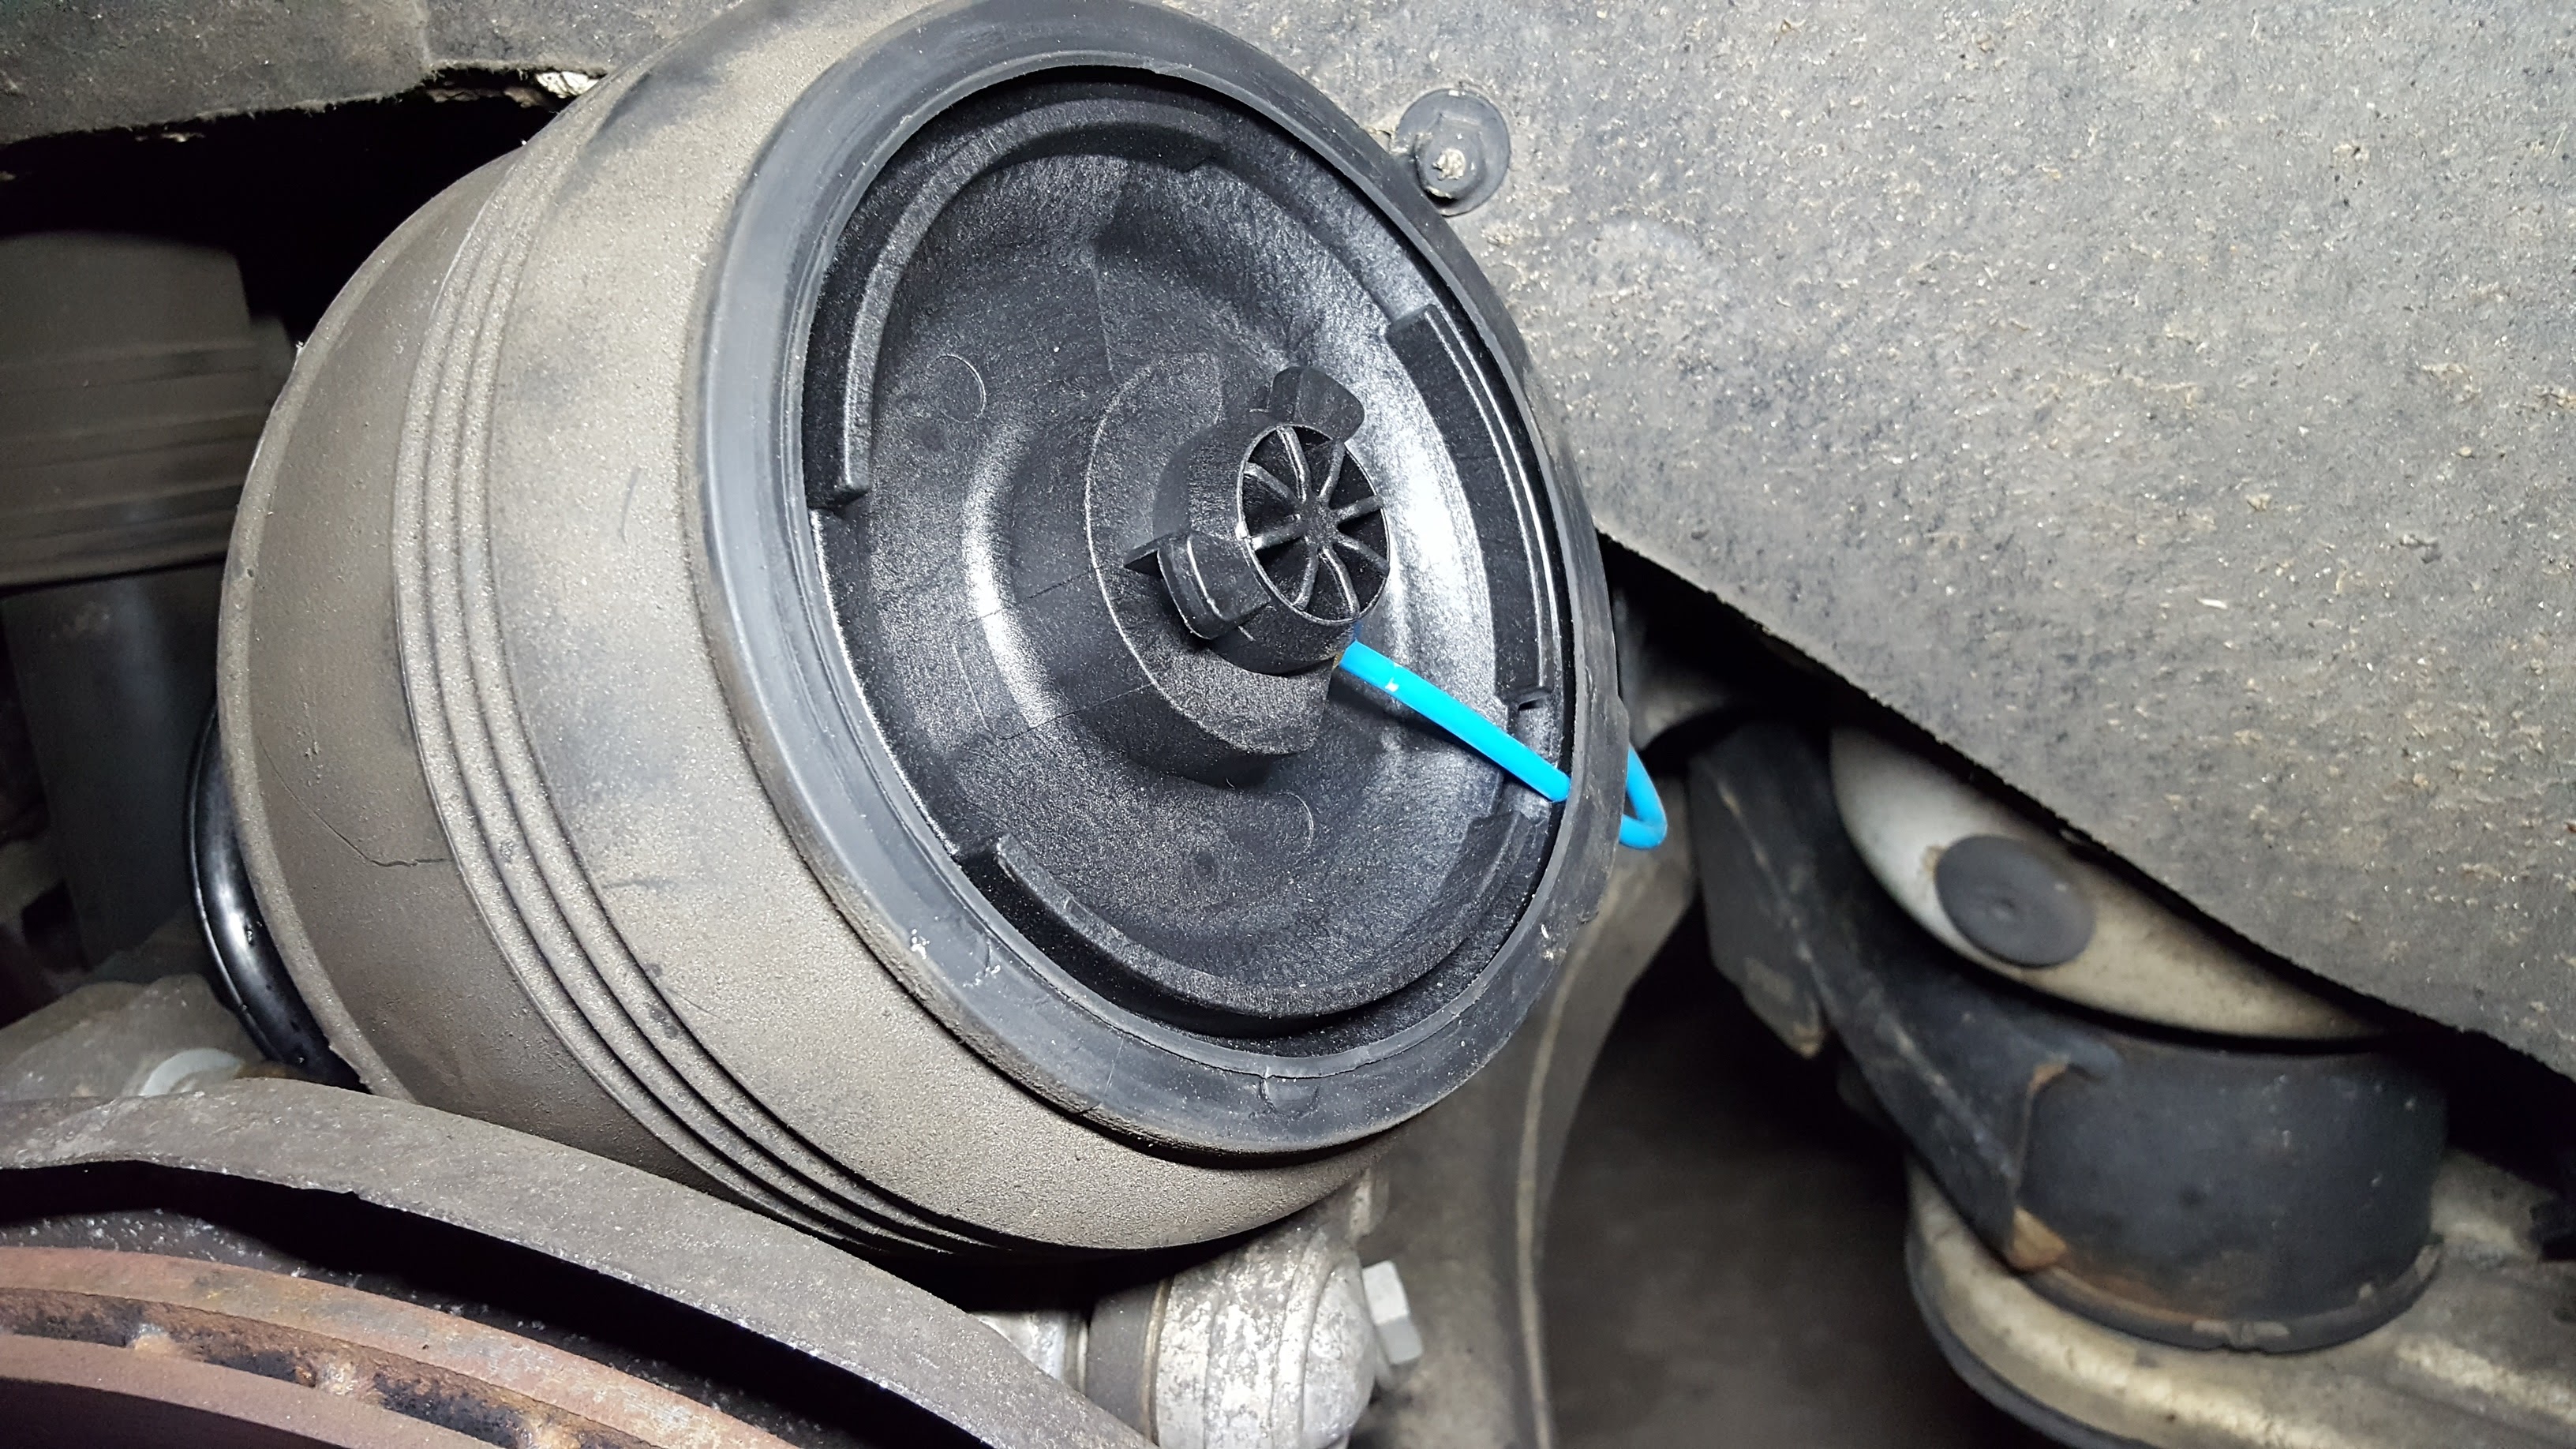
Step 4: After relieving pressure from the air springs it’s time to remove the air springs. First step is to release the lower mount. I used a long angled pick to compress the locking tabs while pulling up on the air spring. It released pretty easily. To release the upper mount on the air spring turn the spring clockwise about 60 degrees. At this point it will drop down and out of the way. Be careful to not pull the air spring as you do not want to break the air line. Pull straight down and angle outward so you can gain access to the top.
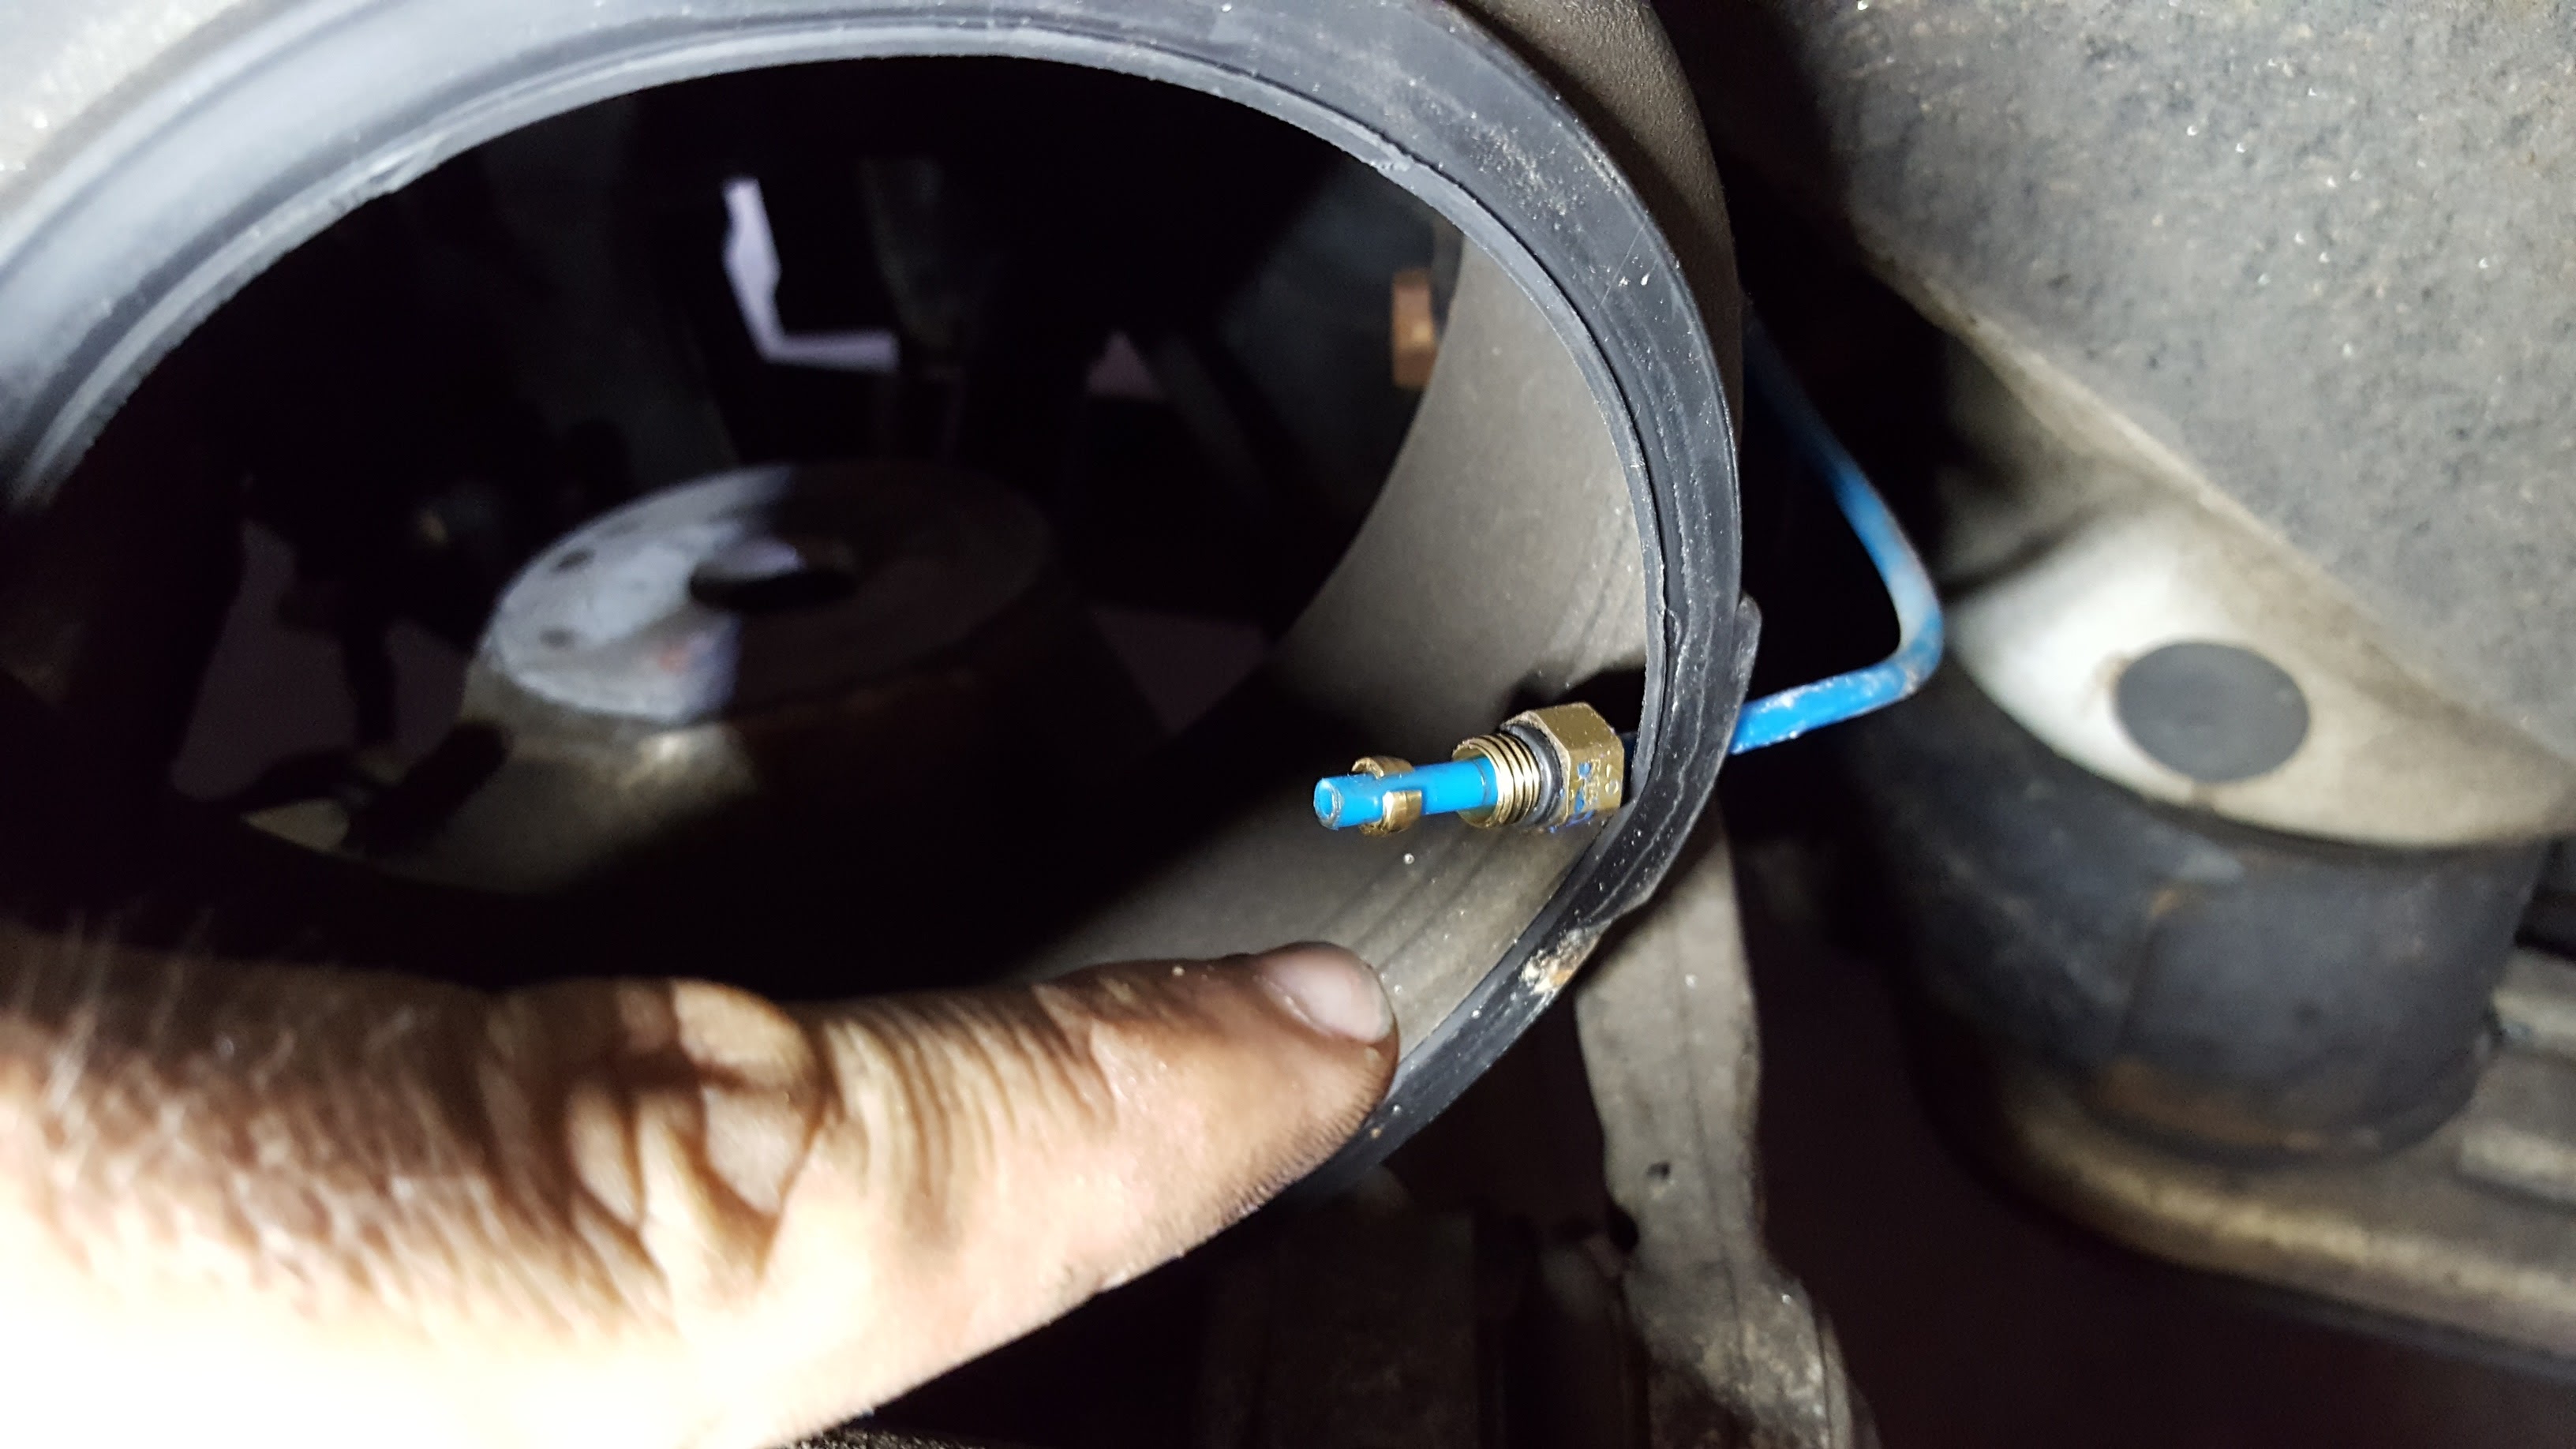
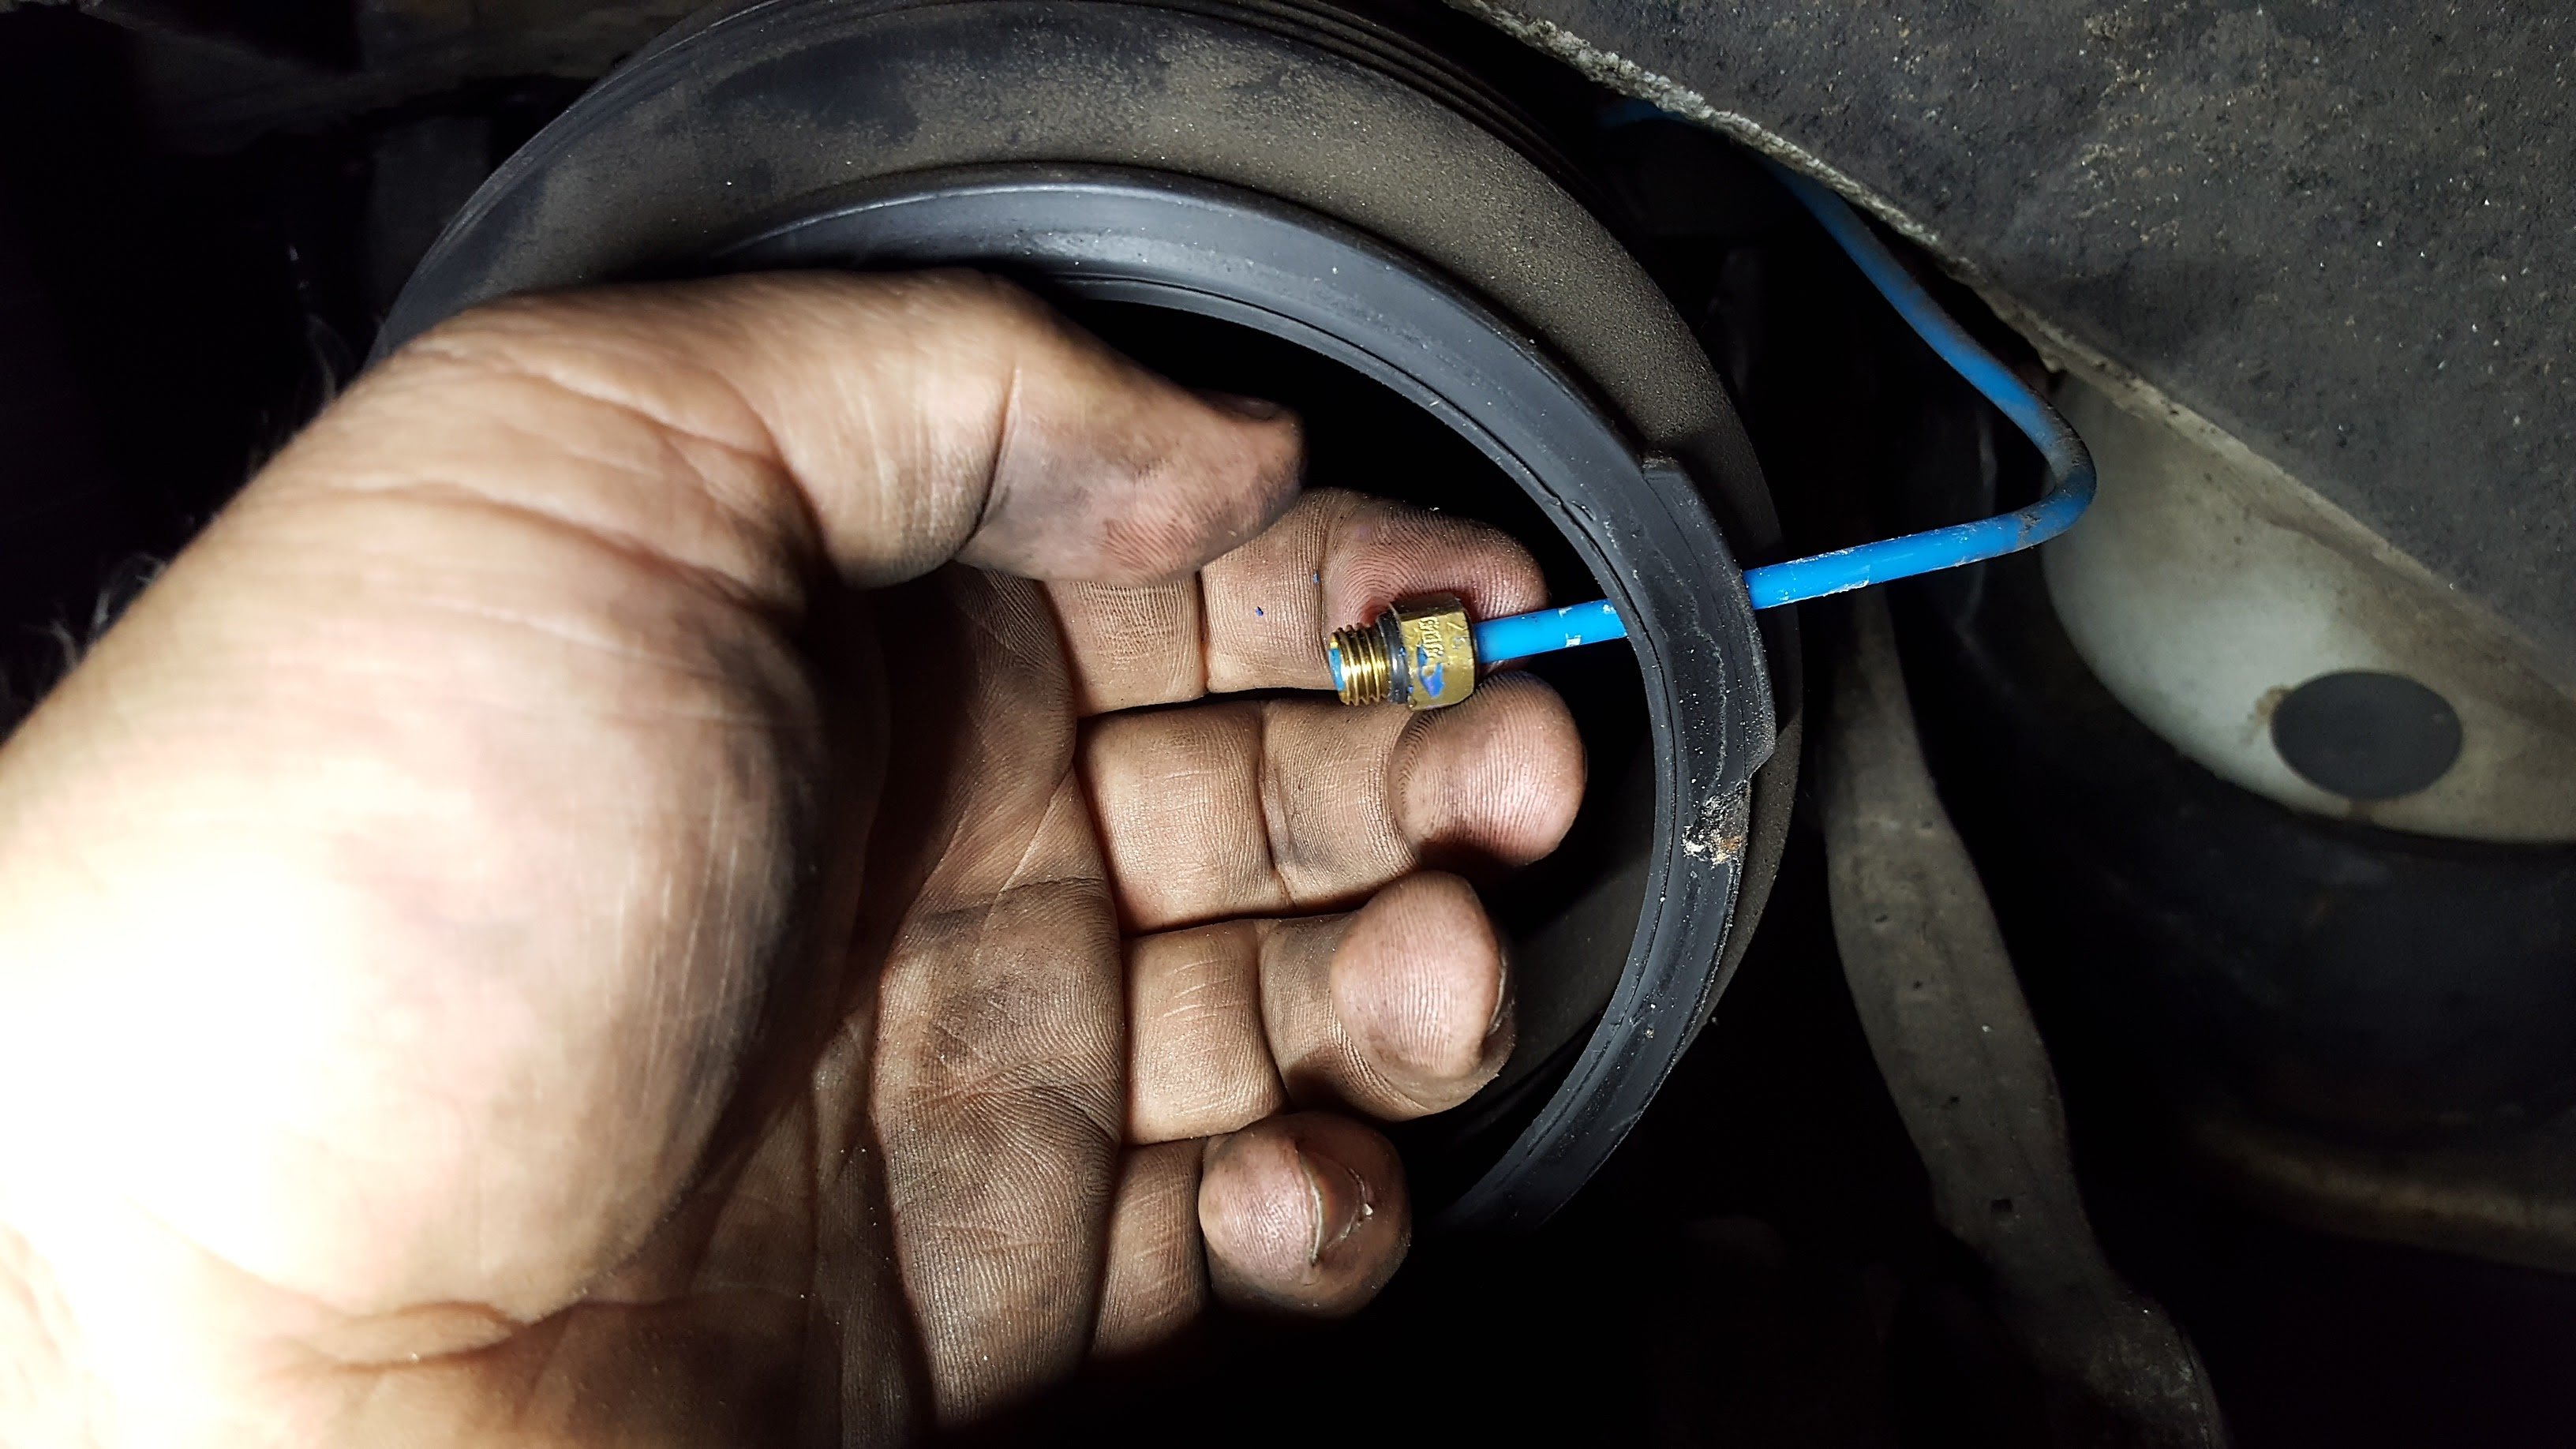
Step 5: Now you need to disconnect the air line fitting from the air spring. I used a 10mm flare nut wrench but you can easily do this with a regular 10mm combination wrench. The fitting will unthread and then pull out. I also removed the rubber sealing grommet from the top of the air spring as I would be reusing this when installing the new air springs from Arnott. Arnott includes new air line fitting pre-installed in the air spring so you need to discard the original fitting. I used a thin pick to break the retainer clip (it’s very fragile) and then the air line fitting can be slid off.
(This is also a good time to check for suspension joint play as there is no tension being applied to the suspension from the air springs. I highly recommend doing this before installing the new air springs)
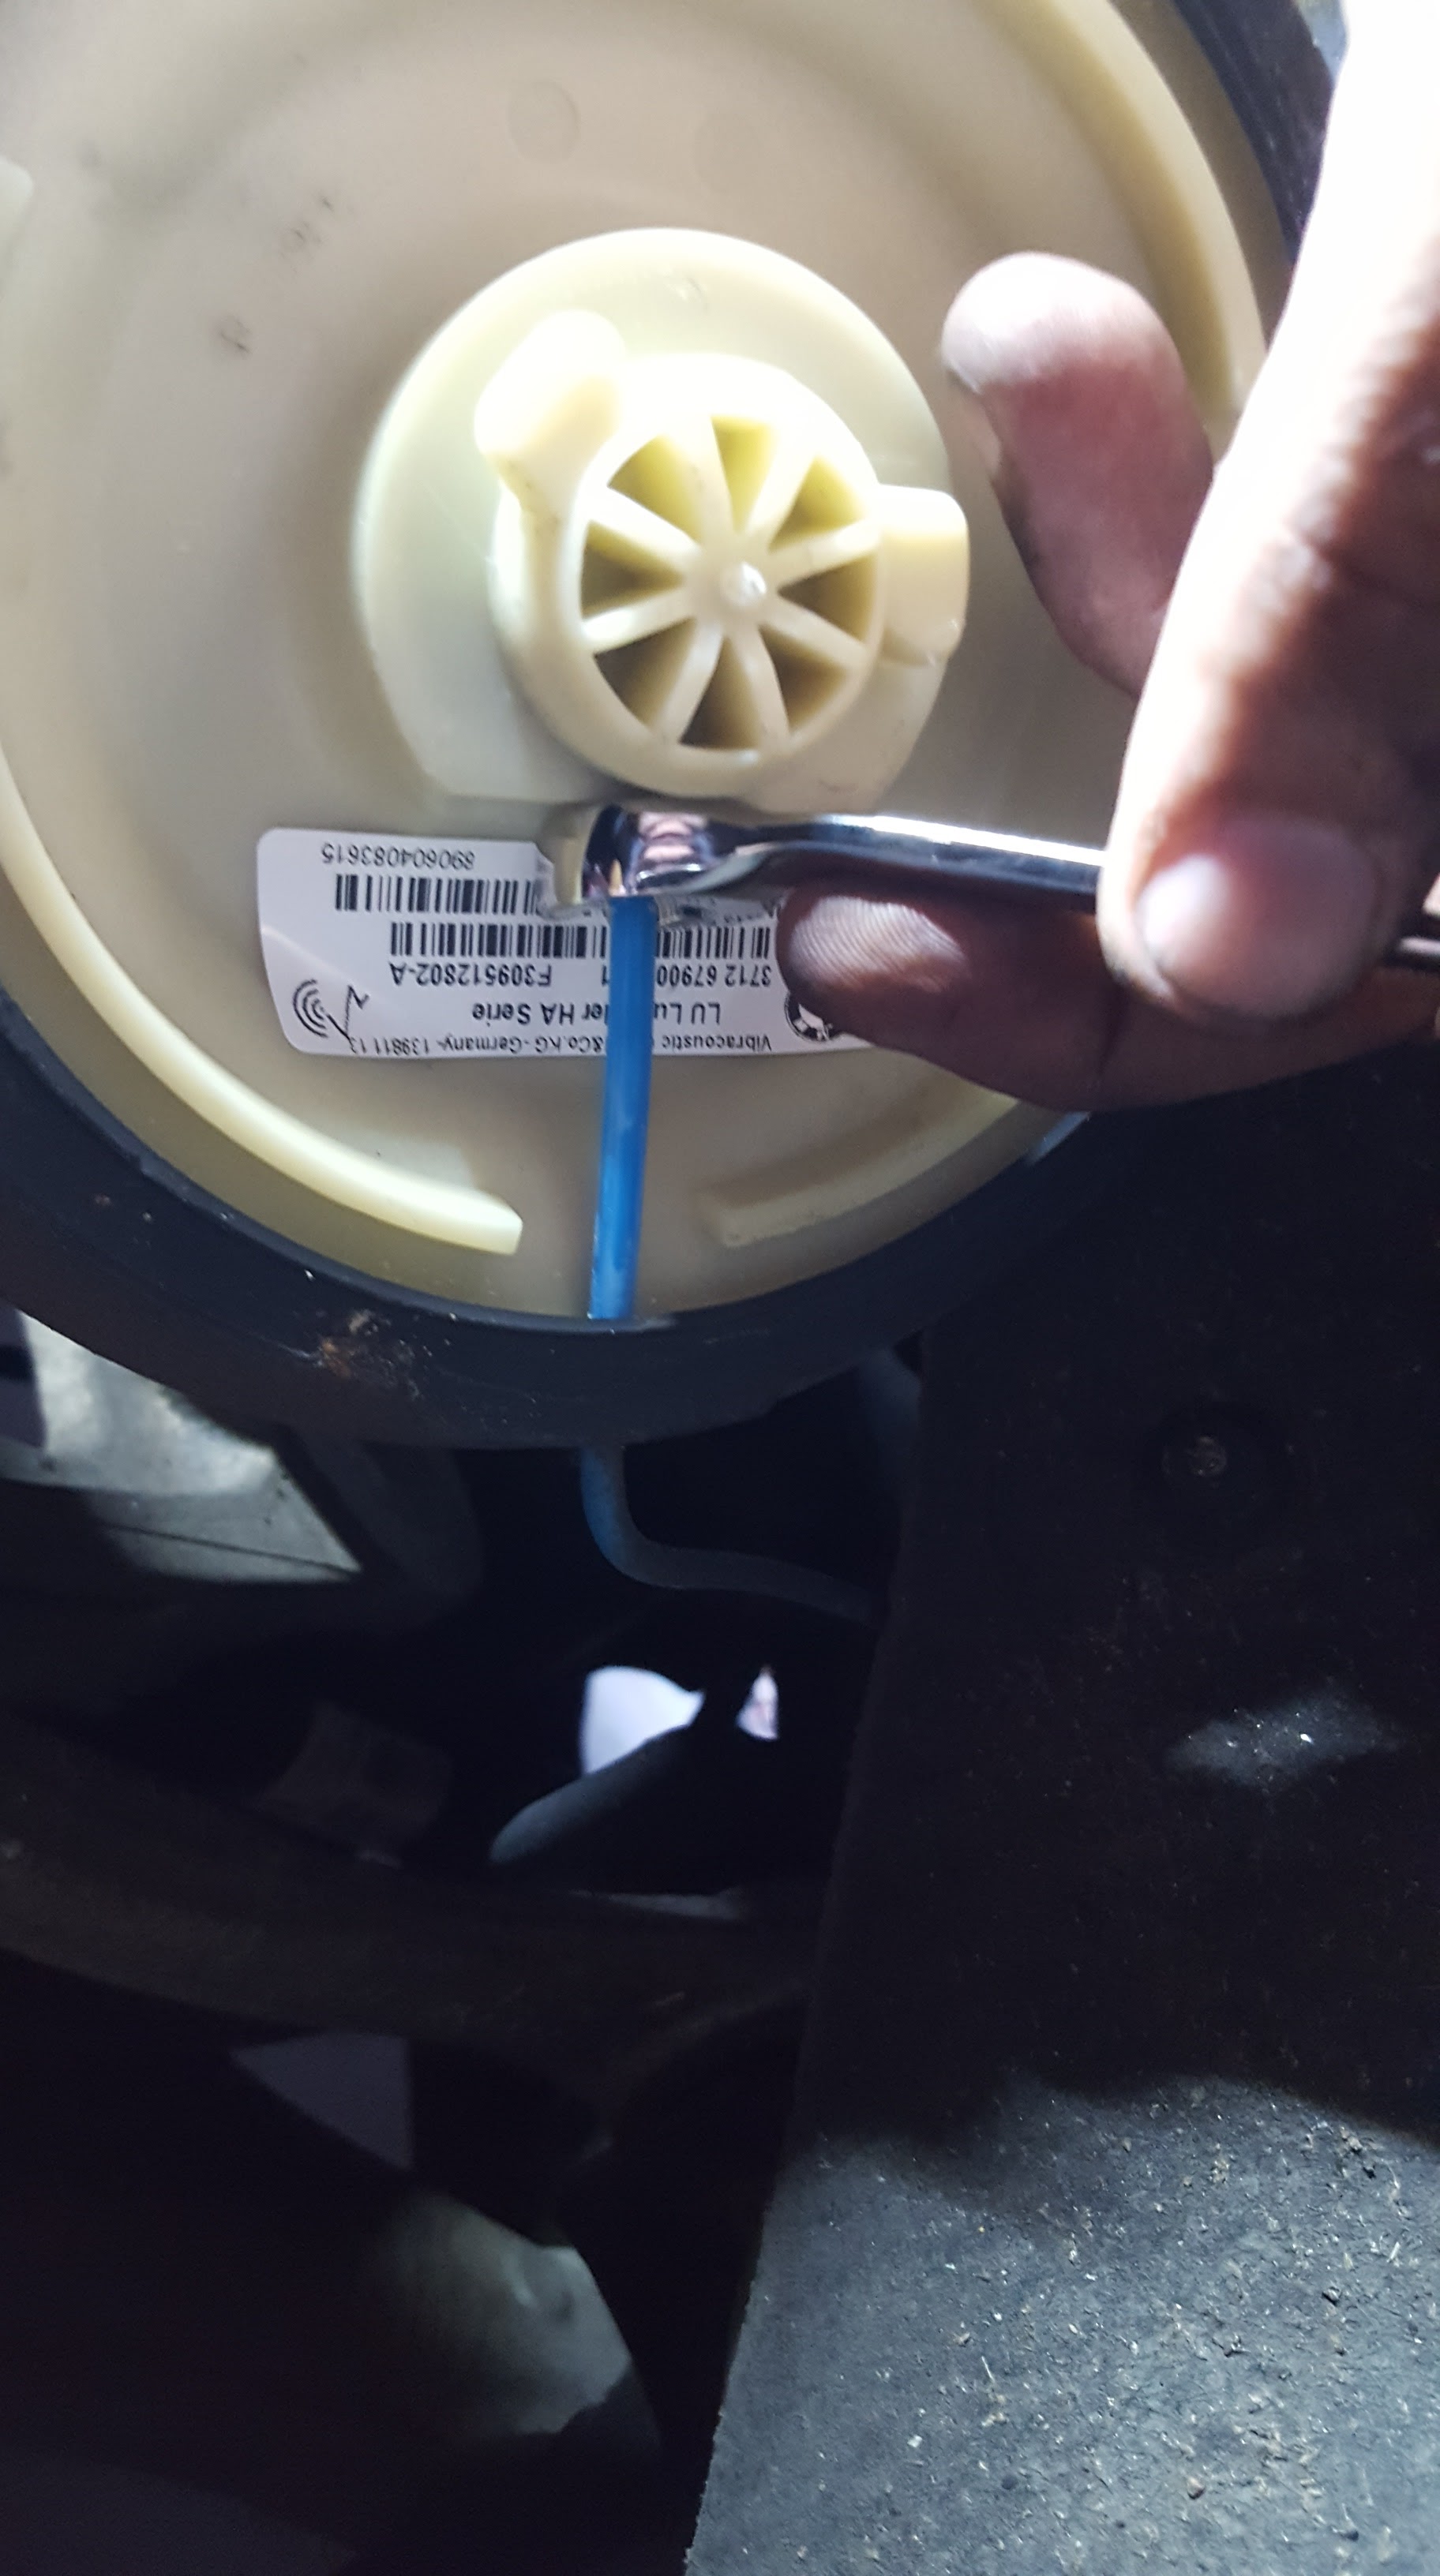
Step 6: Next step is to install the air line into the air spring. I reinstalled the original air spring rubber sealing ring onto the new air spring making sure to line the hole up for the air line. Before installing the air line make sure the line is in good shape with no notable surface blemishes. Insert the air line through the air spring sealing ring and then into the air fitting until it clips into place. Ensure the air line has clipped into place by pulling back on it slightly. You will feel a little bit of play but it will not come out on its own.
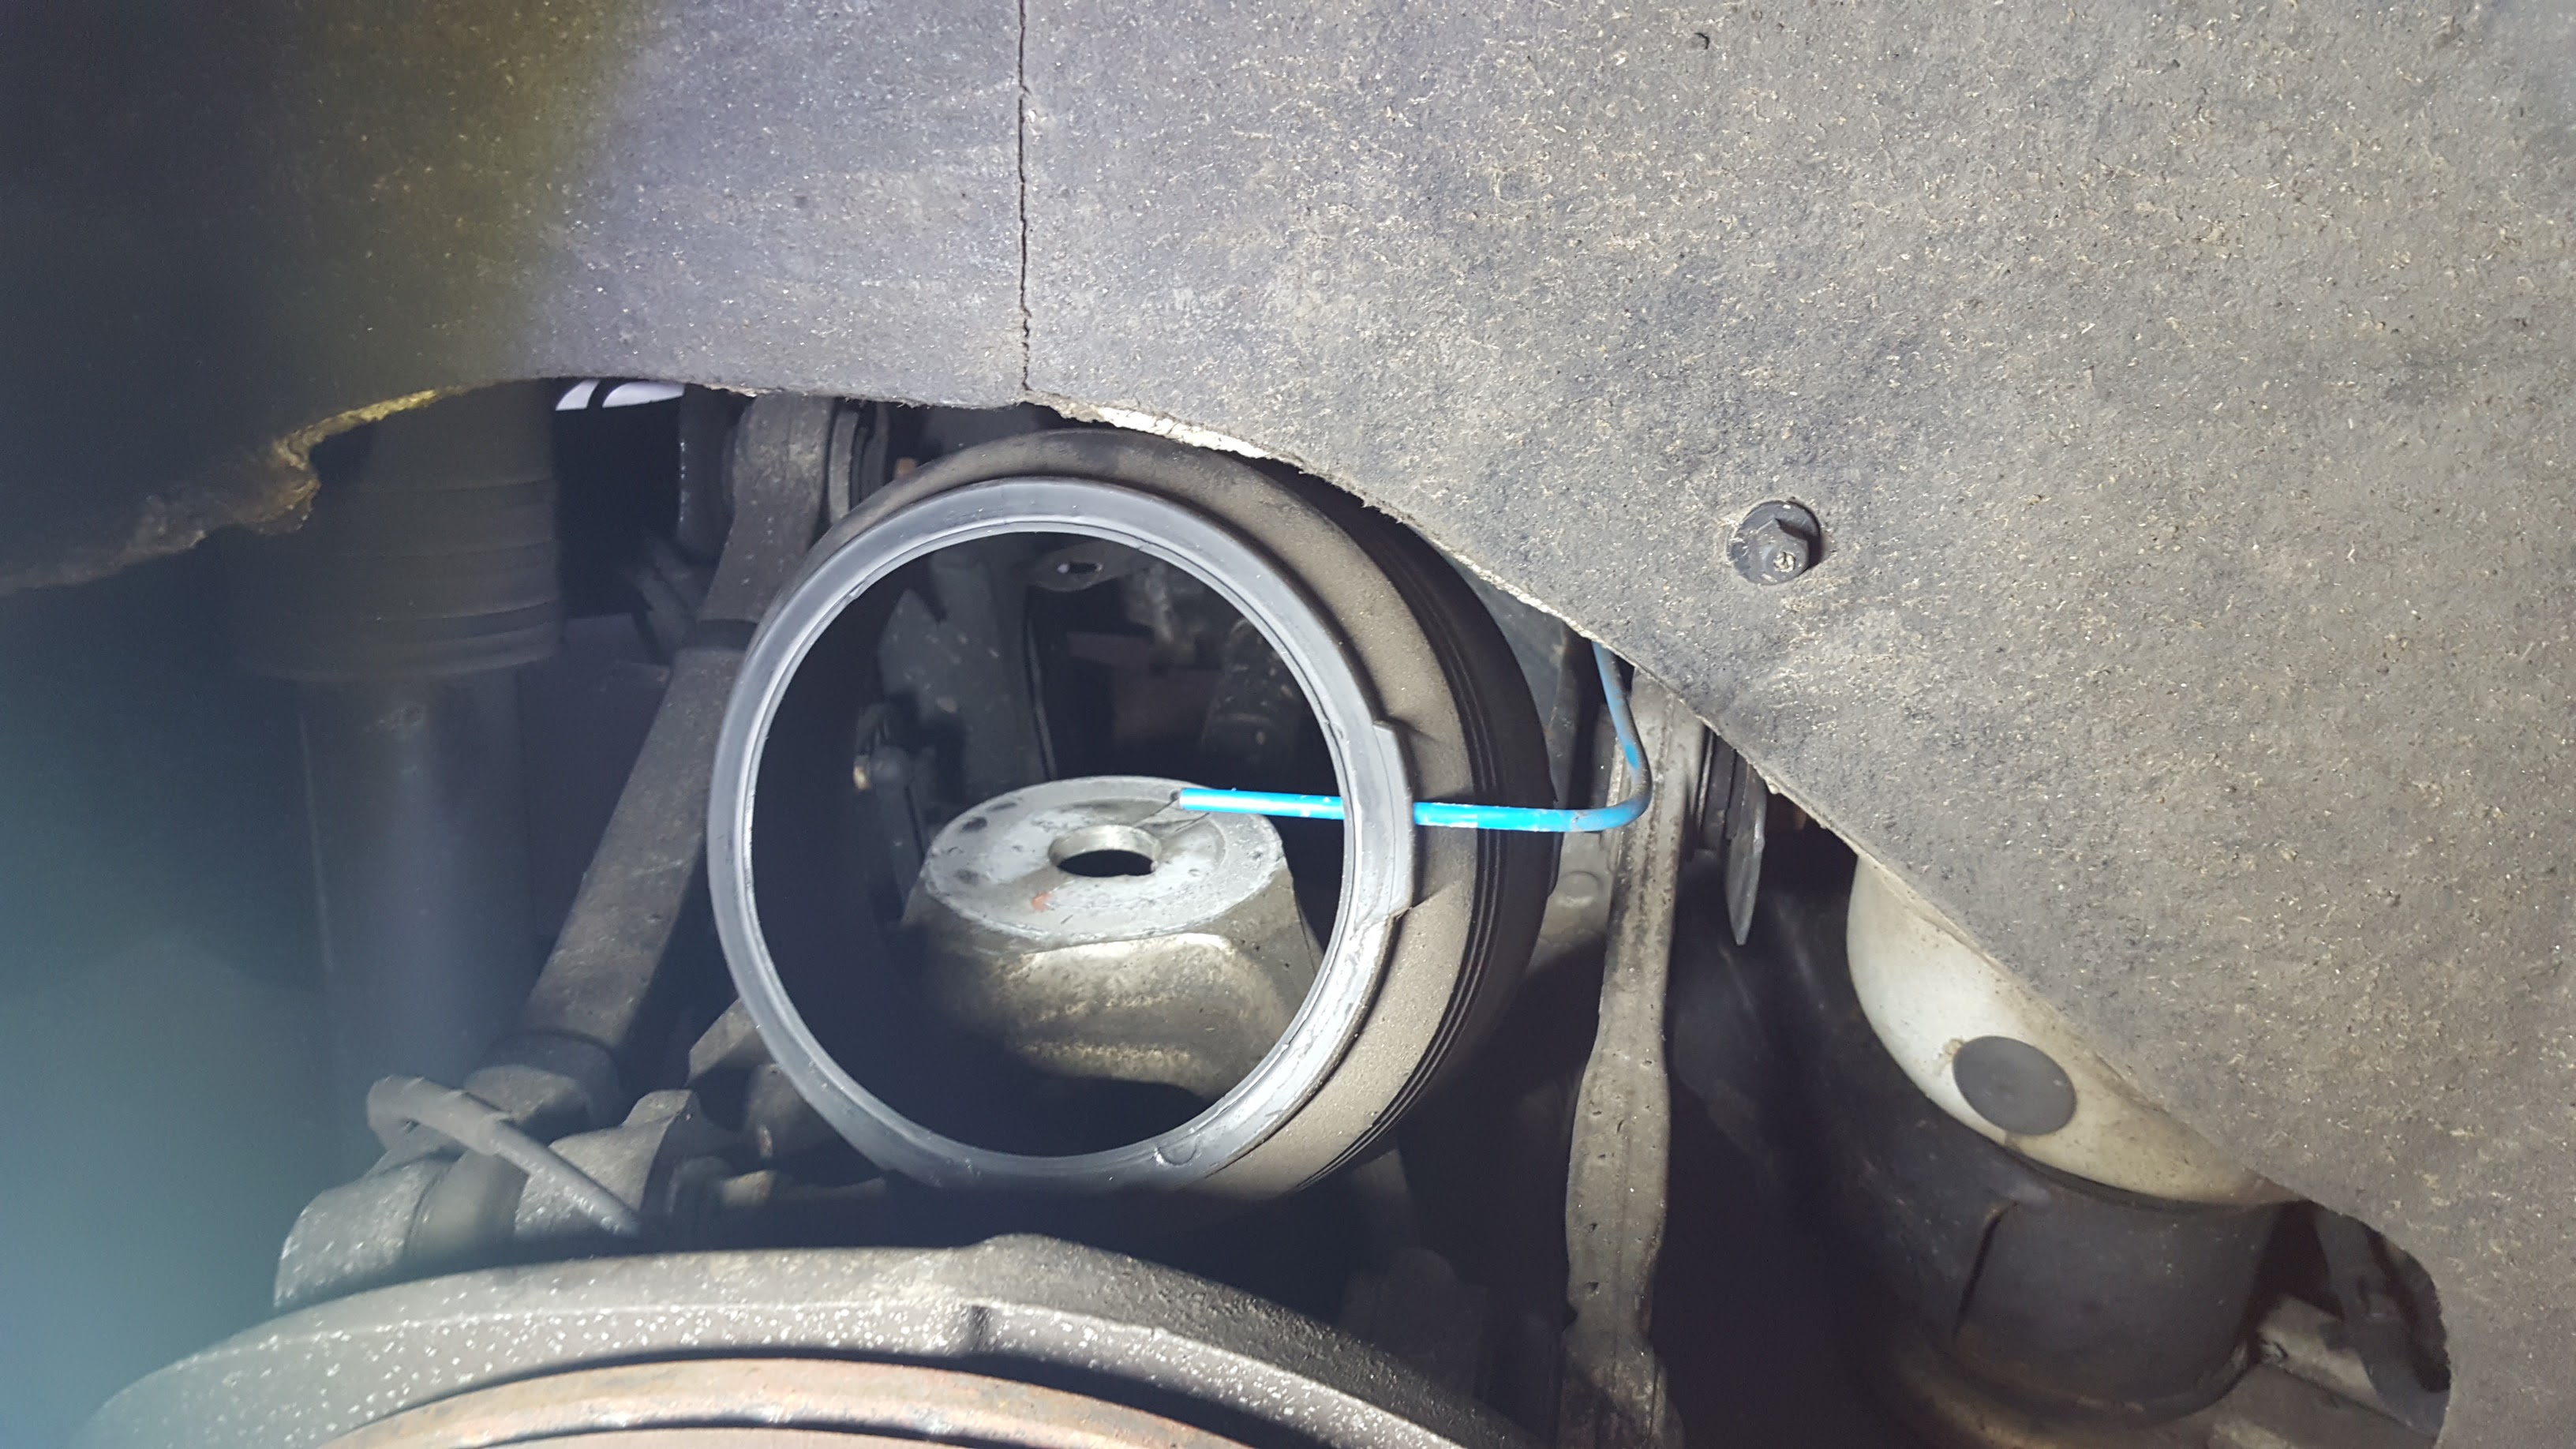
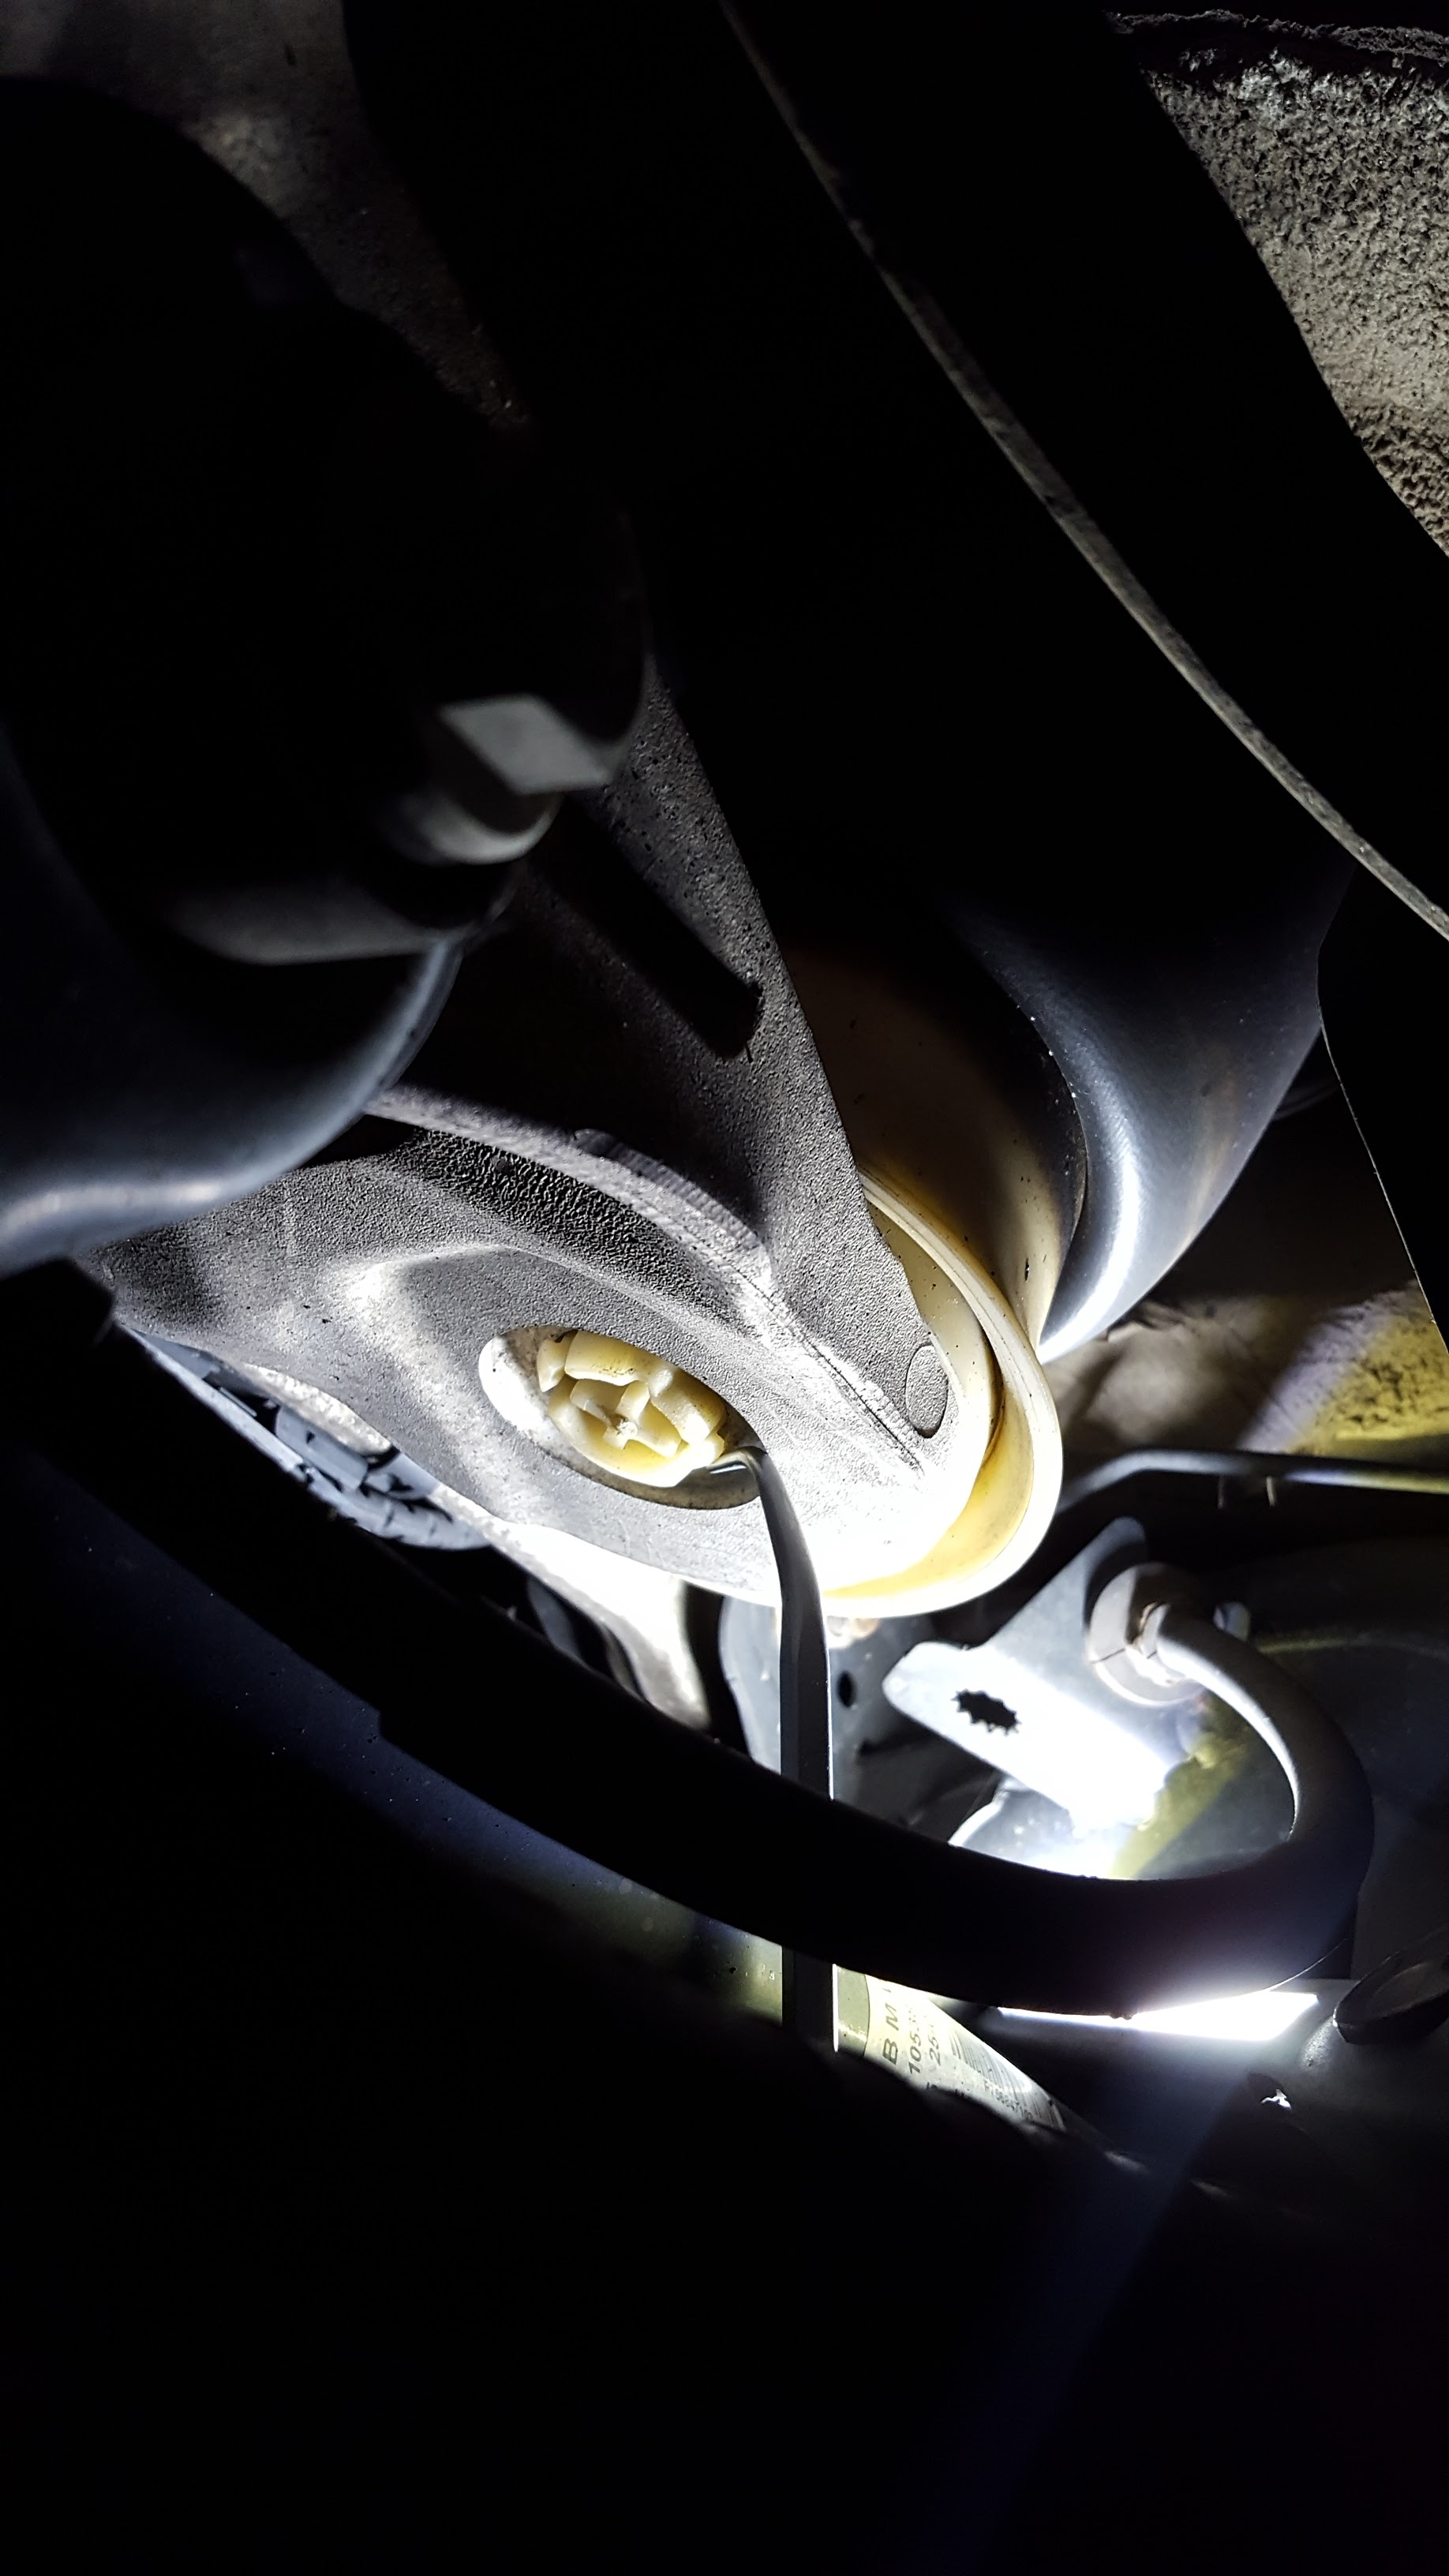
Step 7: This is the tricky part as it involves lining up the air spring with the top mount first and you do this completely blind. The best tip I can give you is use the lower mount a reference as there is a locating tab on the bottom mount which needs to line up with the wheel carrier. You need to have this lower tab pointing almost directly at you to get the top mount to line up. Once you get it lined up you will feel it drop into place. Turn the air spring counter clockwise until it locks into place. The lower mount of the air spring can now be pulled downward and locked into place. It will simply clip into the wheel carrier if the orientation of the air spring is correct. If the lower mount does not line up make sure the top mount is still locked into place. Once the lower mount is locked into the lower mount do a once over to make sure the spring isn’t twisted.

Step 8: Now it’s time to put the car back down on the ground. I only put some weight on the rear axle and left my floor jack under the vehicle to make sure it wasn’t sitting completely on the ground. Next I reconnected the battery negative terminal. At this point hit the unlock button on the vehicle key and the air compressor should turn on. The springs will start to pump up. As the springs are pumping up remove your floor jack entirely. You may hear a few loud pops as the air springs are expanding. This is normal so don’t worry about it. The vehicle should reach its final ride height in less than 60 seconds. Once the compressor turns off check for any audible air leak. If you don’t hear anything and the ride height is stable you’re all set.
Step 9: At this point I checked to see if there was a ride height variance between the rear left and rear right and there was (about 4mm). I used GT1 DIS and the BMW ride height table to recalibrate the ride height so that both the rear left and rear right were level. Once you input the information into GT1 the vehicle will recalibrate and level out the ride automatically.
For the next installment of the blog I will be doing a tear down of the failed air spring and show you exactly how it failed. Stay tuned!